Raise your hand if you’ve ever sat in a nail salon thinking “I could have done this at home”.
Me too.
I made a deal with Spencer years ago when we were broke college kids that I would invest in nice nail polish and stop getting my nails professionally done. – that lasted for a month. BUT it forced me to learn how to paint my own nails, and little tricks to make them actually look nice.
—
I like to come prepared with a nail clipper, cuticle pusher/nail cleaner duo, nail file, base coat, nail polish & a gel setting top coat. I’ve linked the exact tools I use as I talk about them below so don’t freak out if you’re missing something, I’ve gotcha covered!
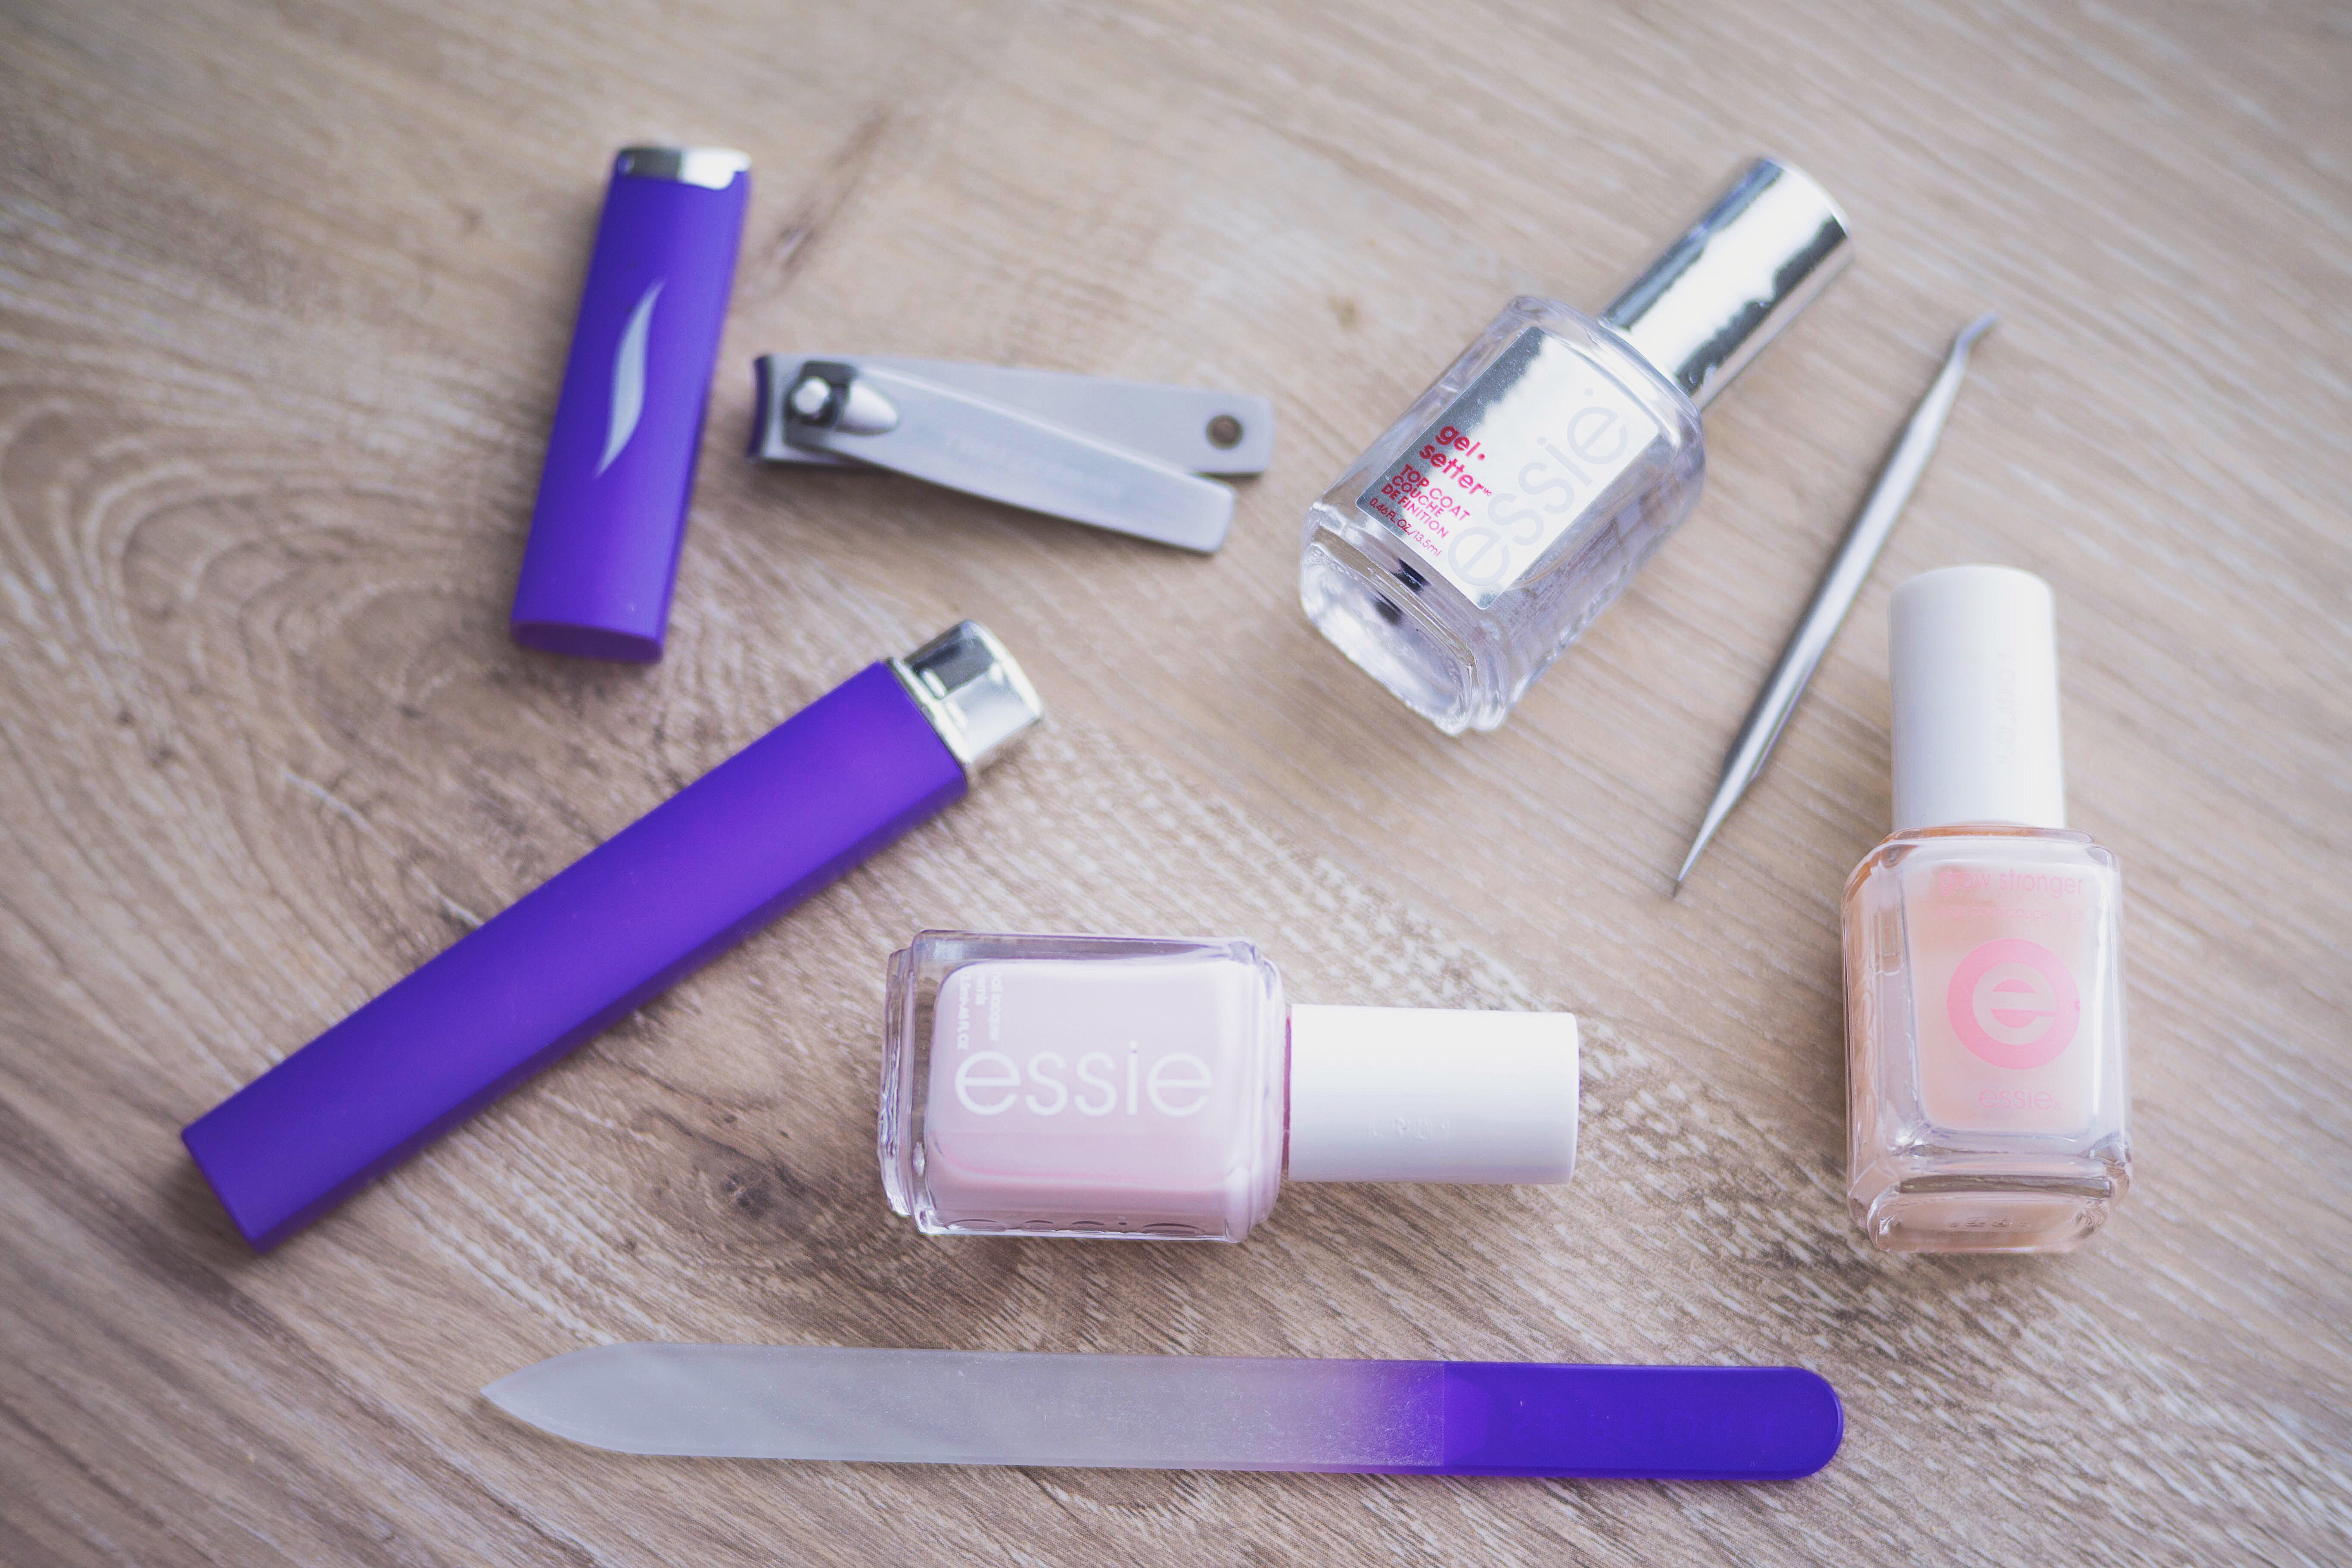
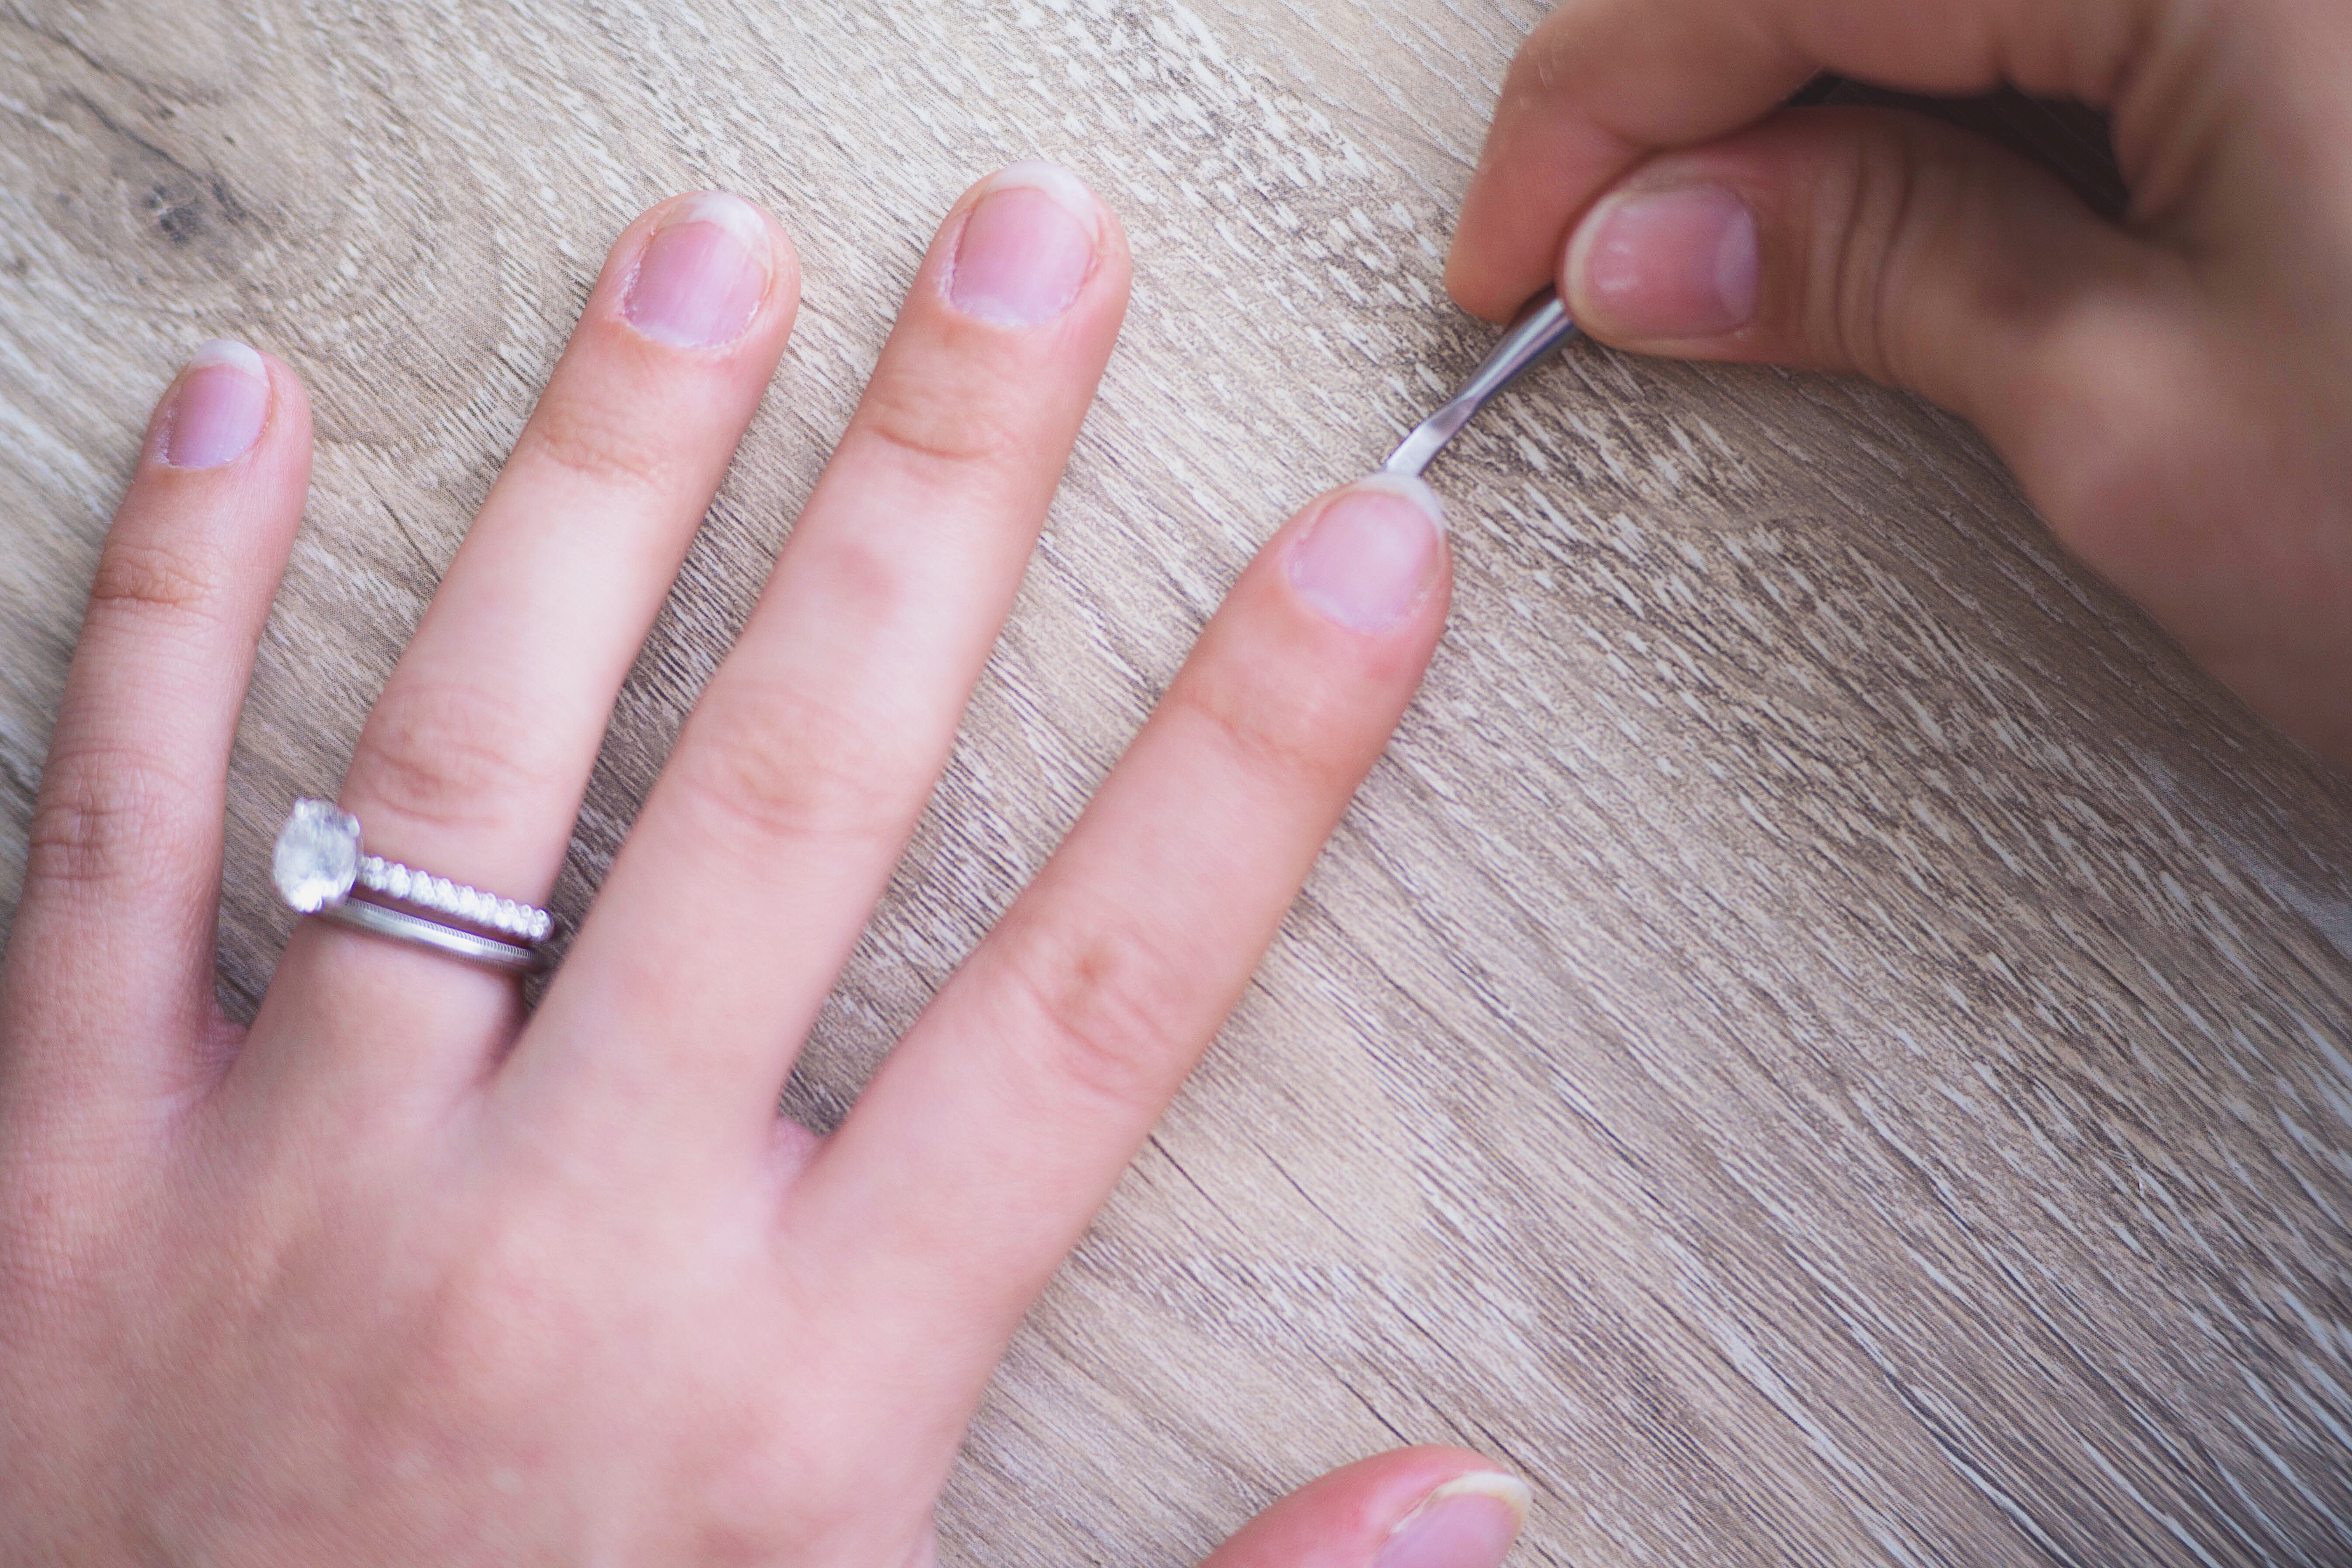
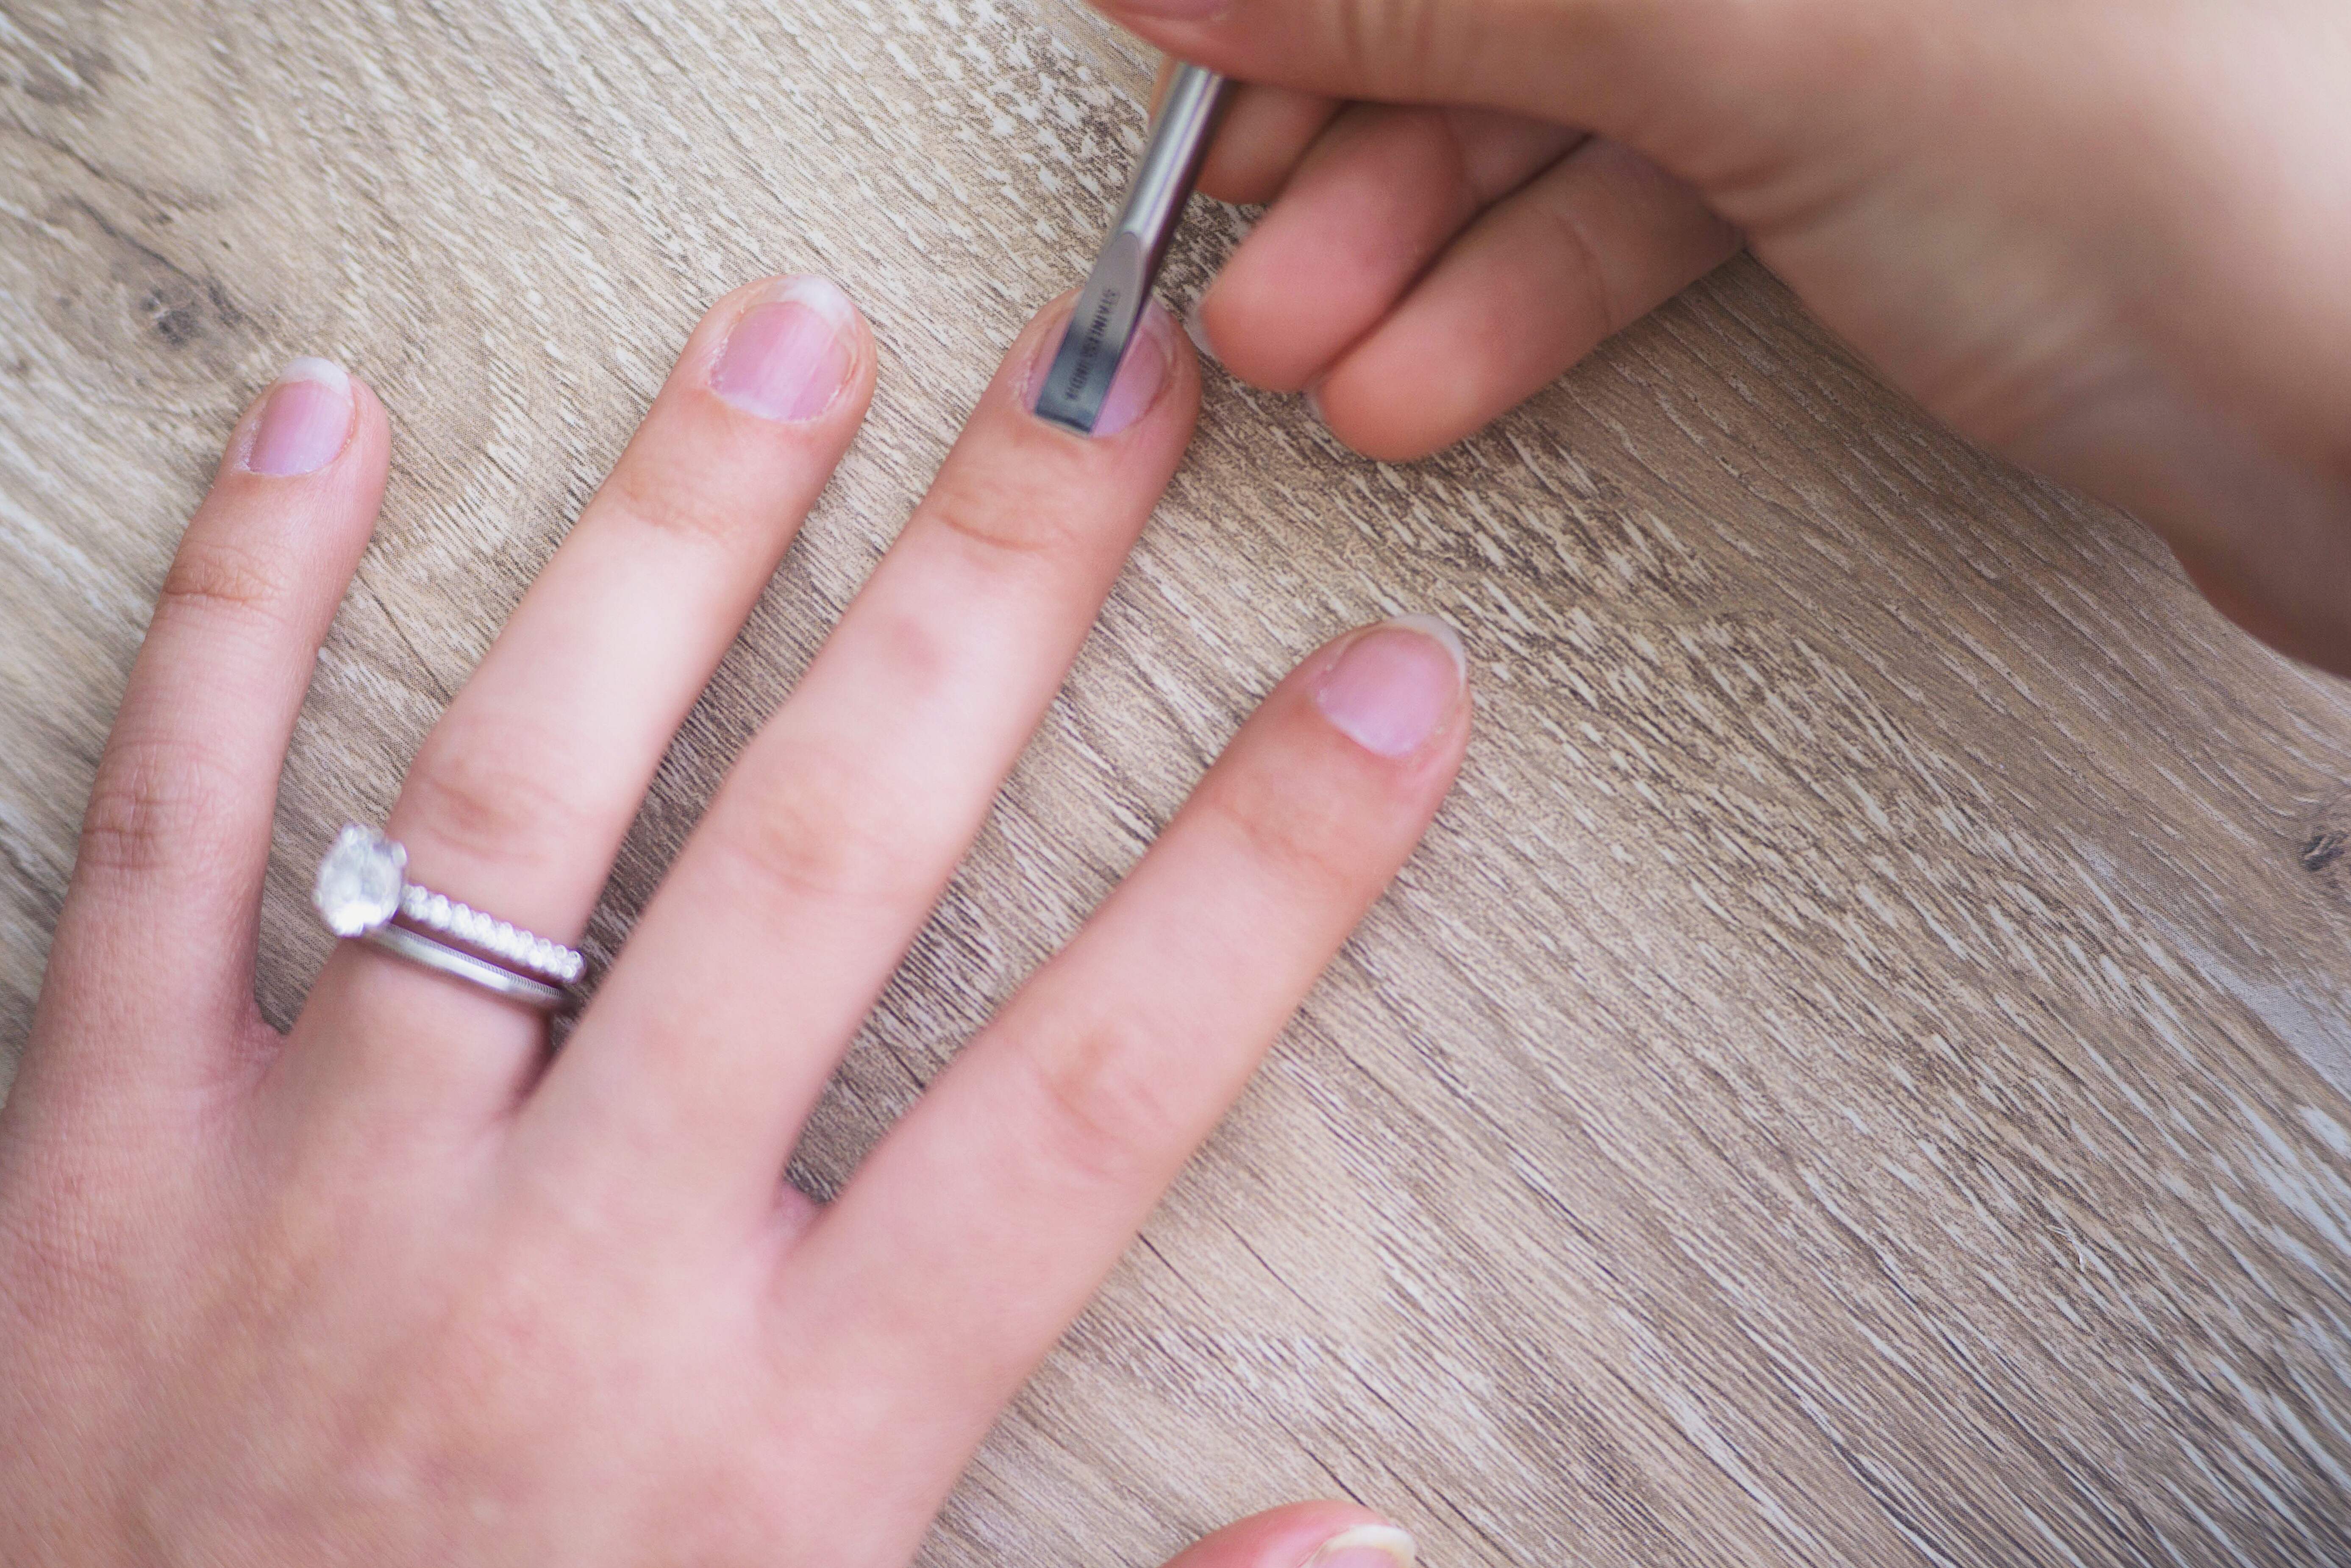
I like to start by cleaning under my nails & pushing back my cuticles. This little duo tool was part of this nail kit.
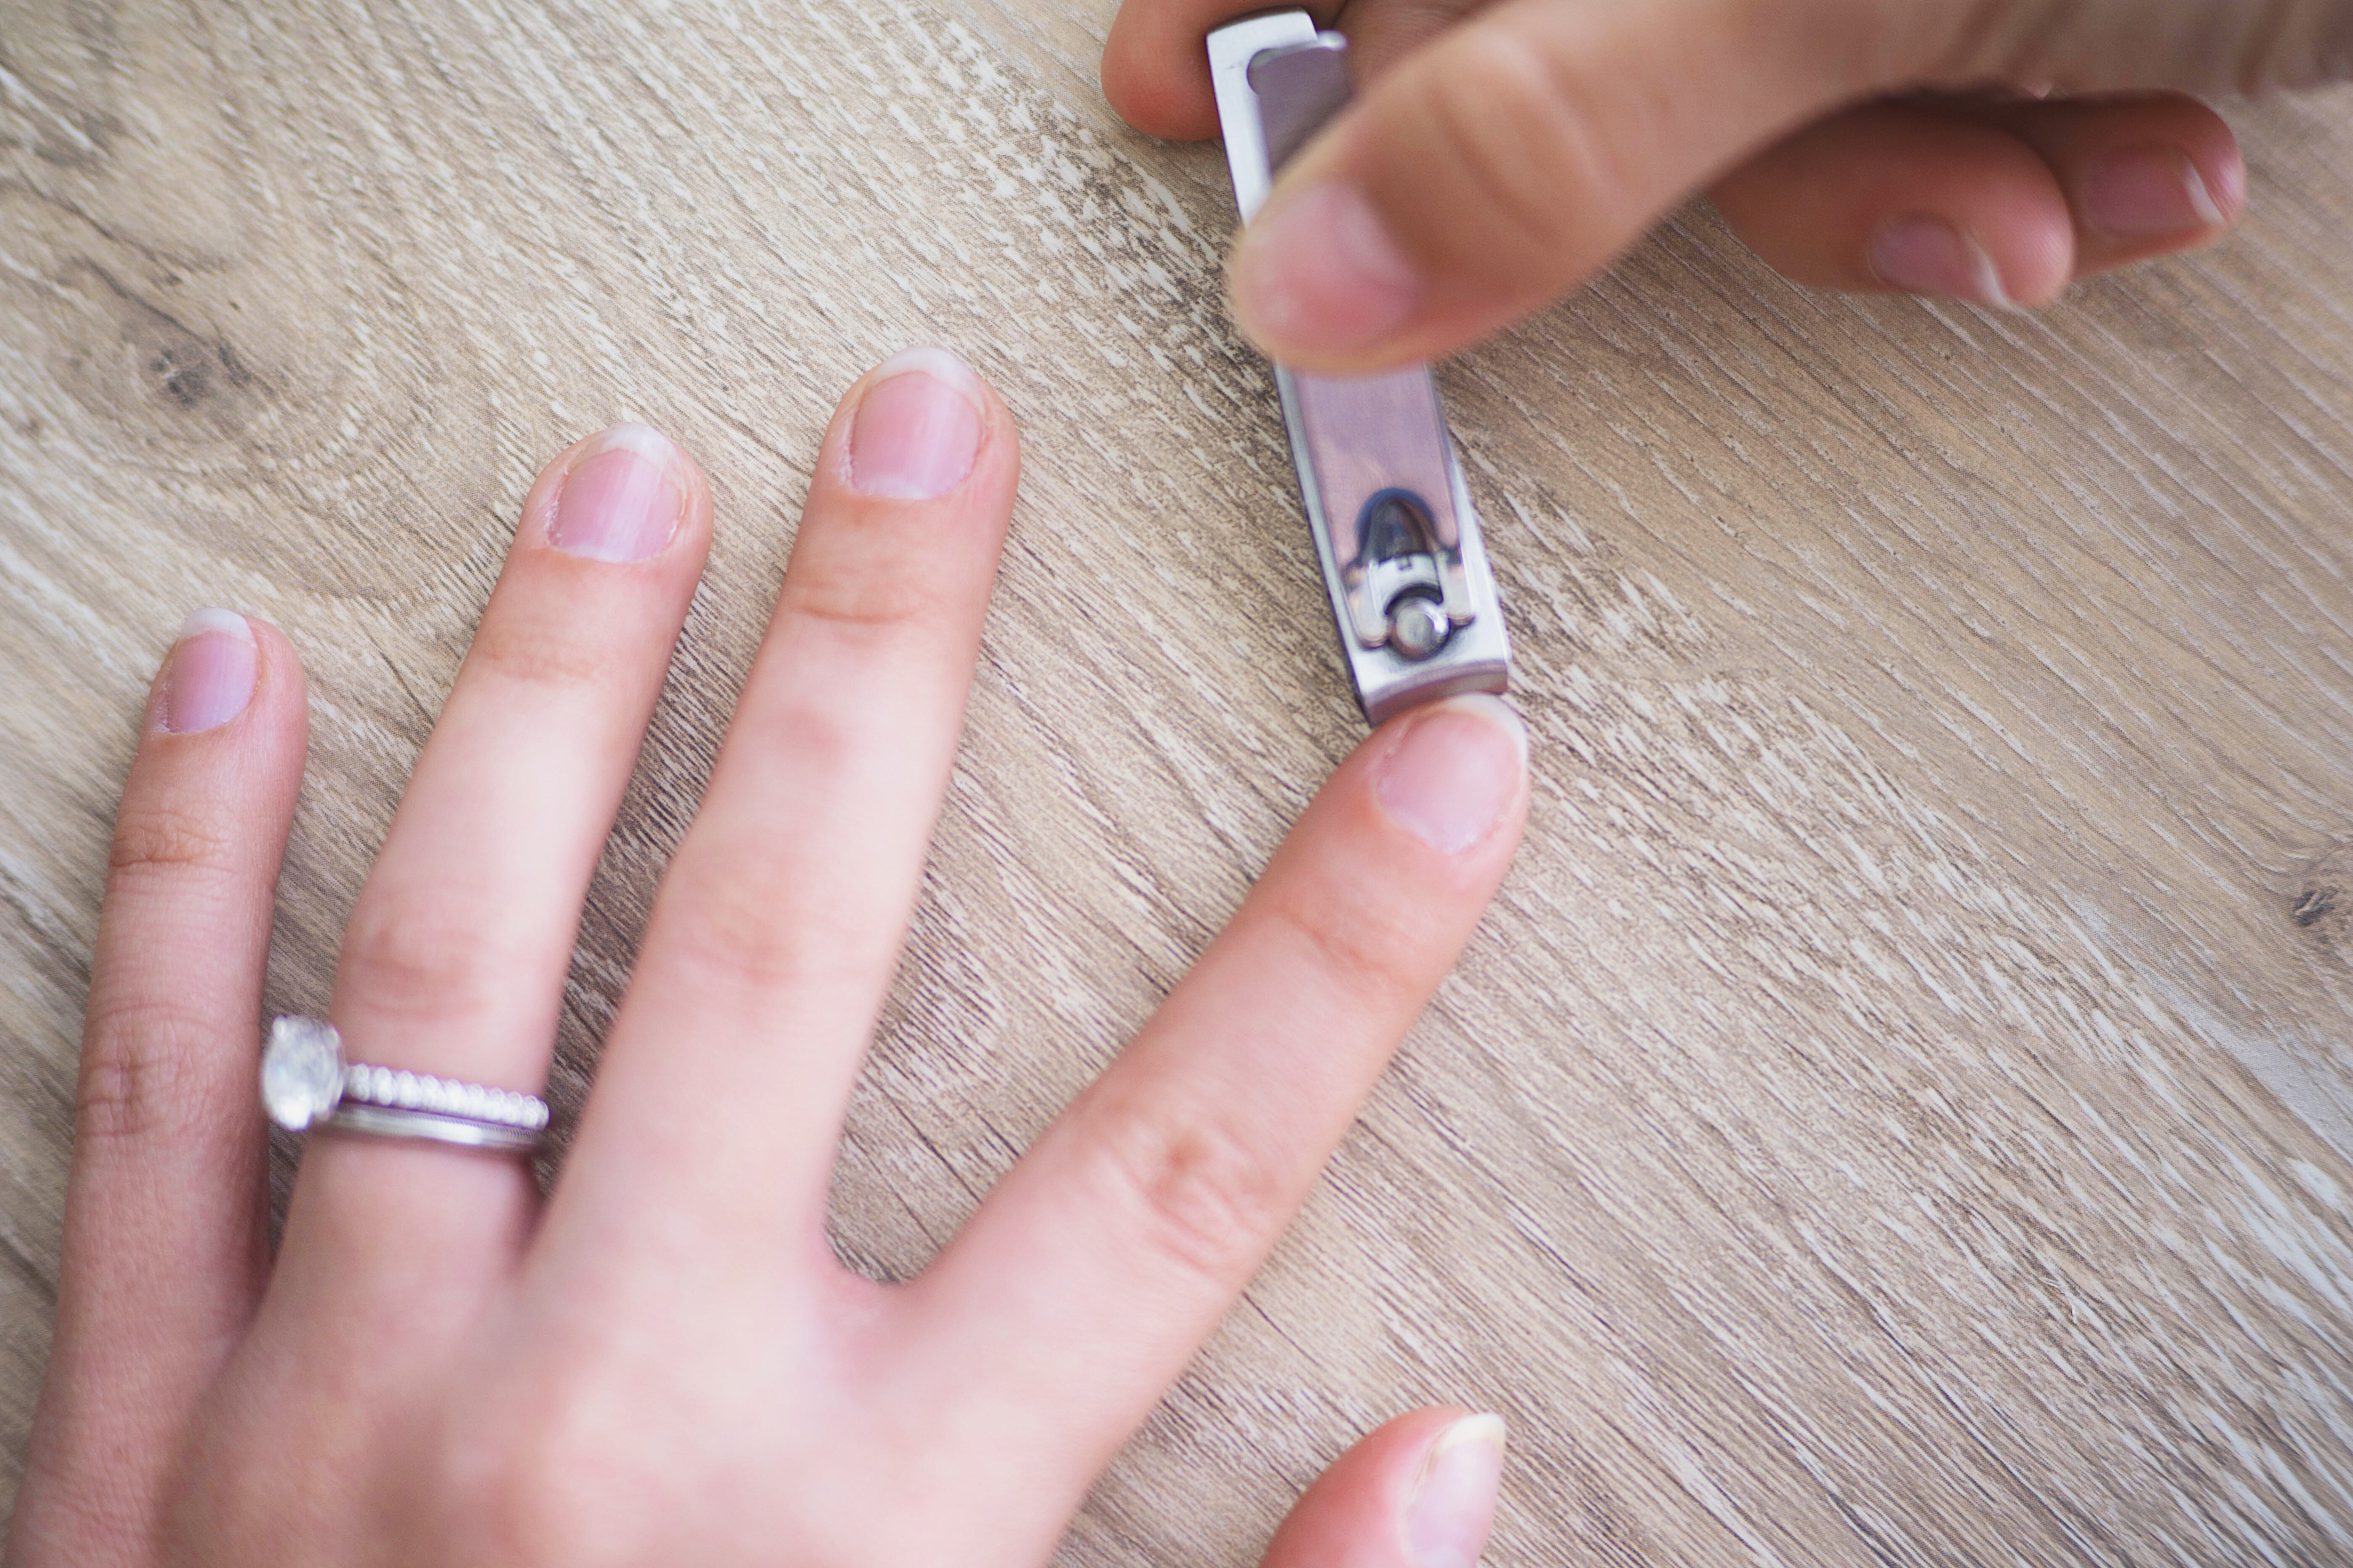
I’m not a fan of the long nail look, but I’m also not a huge fan of the way it feels when you file your nail… so I cheat. I use my Tweezerman clipper to “shape” my nail, which means I cut each side at an angle and then cut the top flat to the length I like. Less filing = happy Kera.
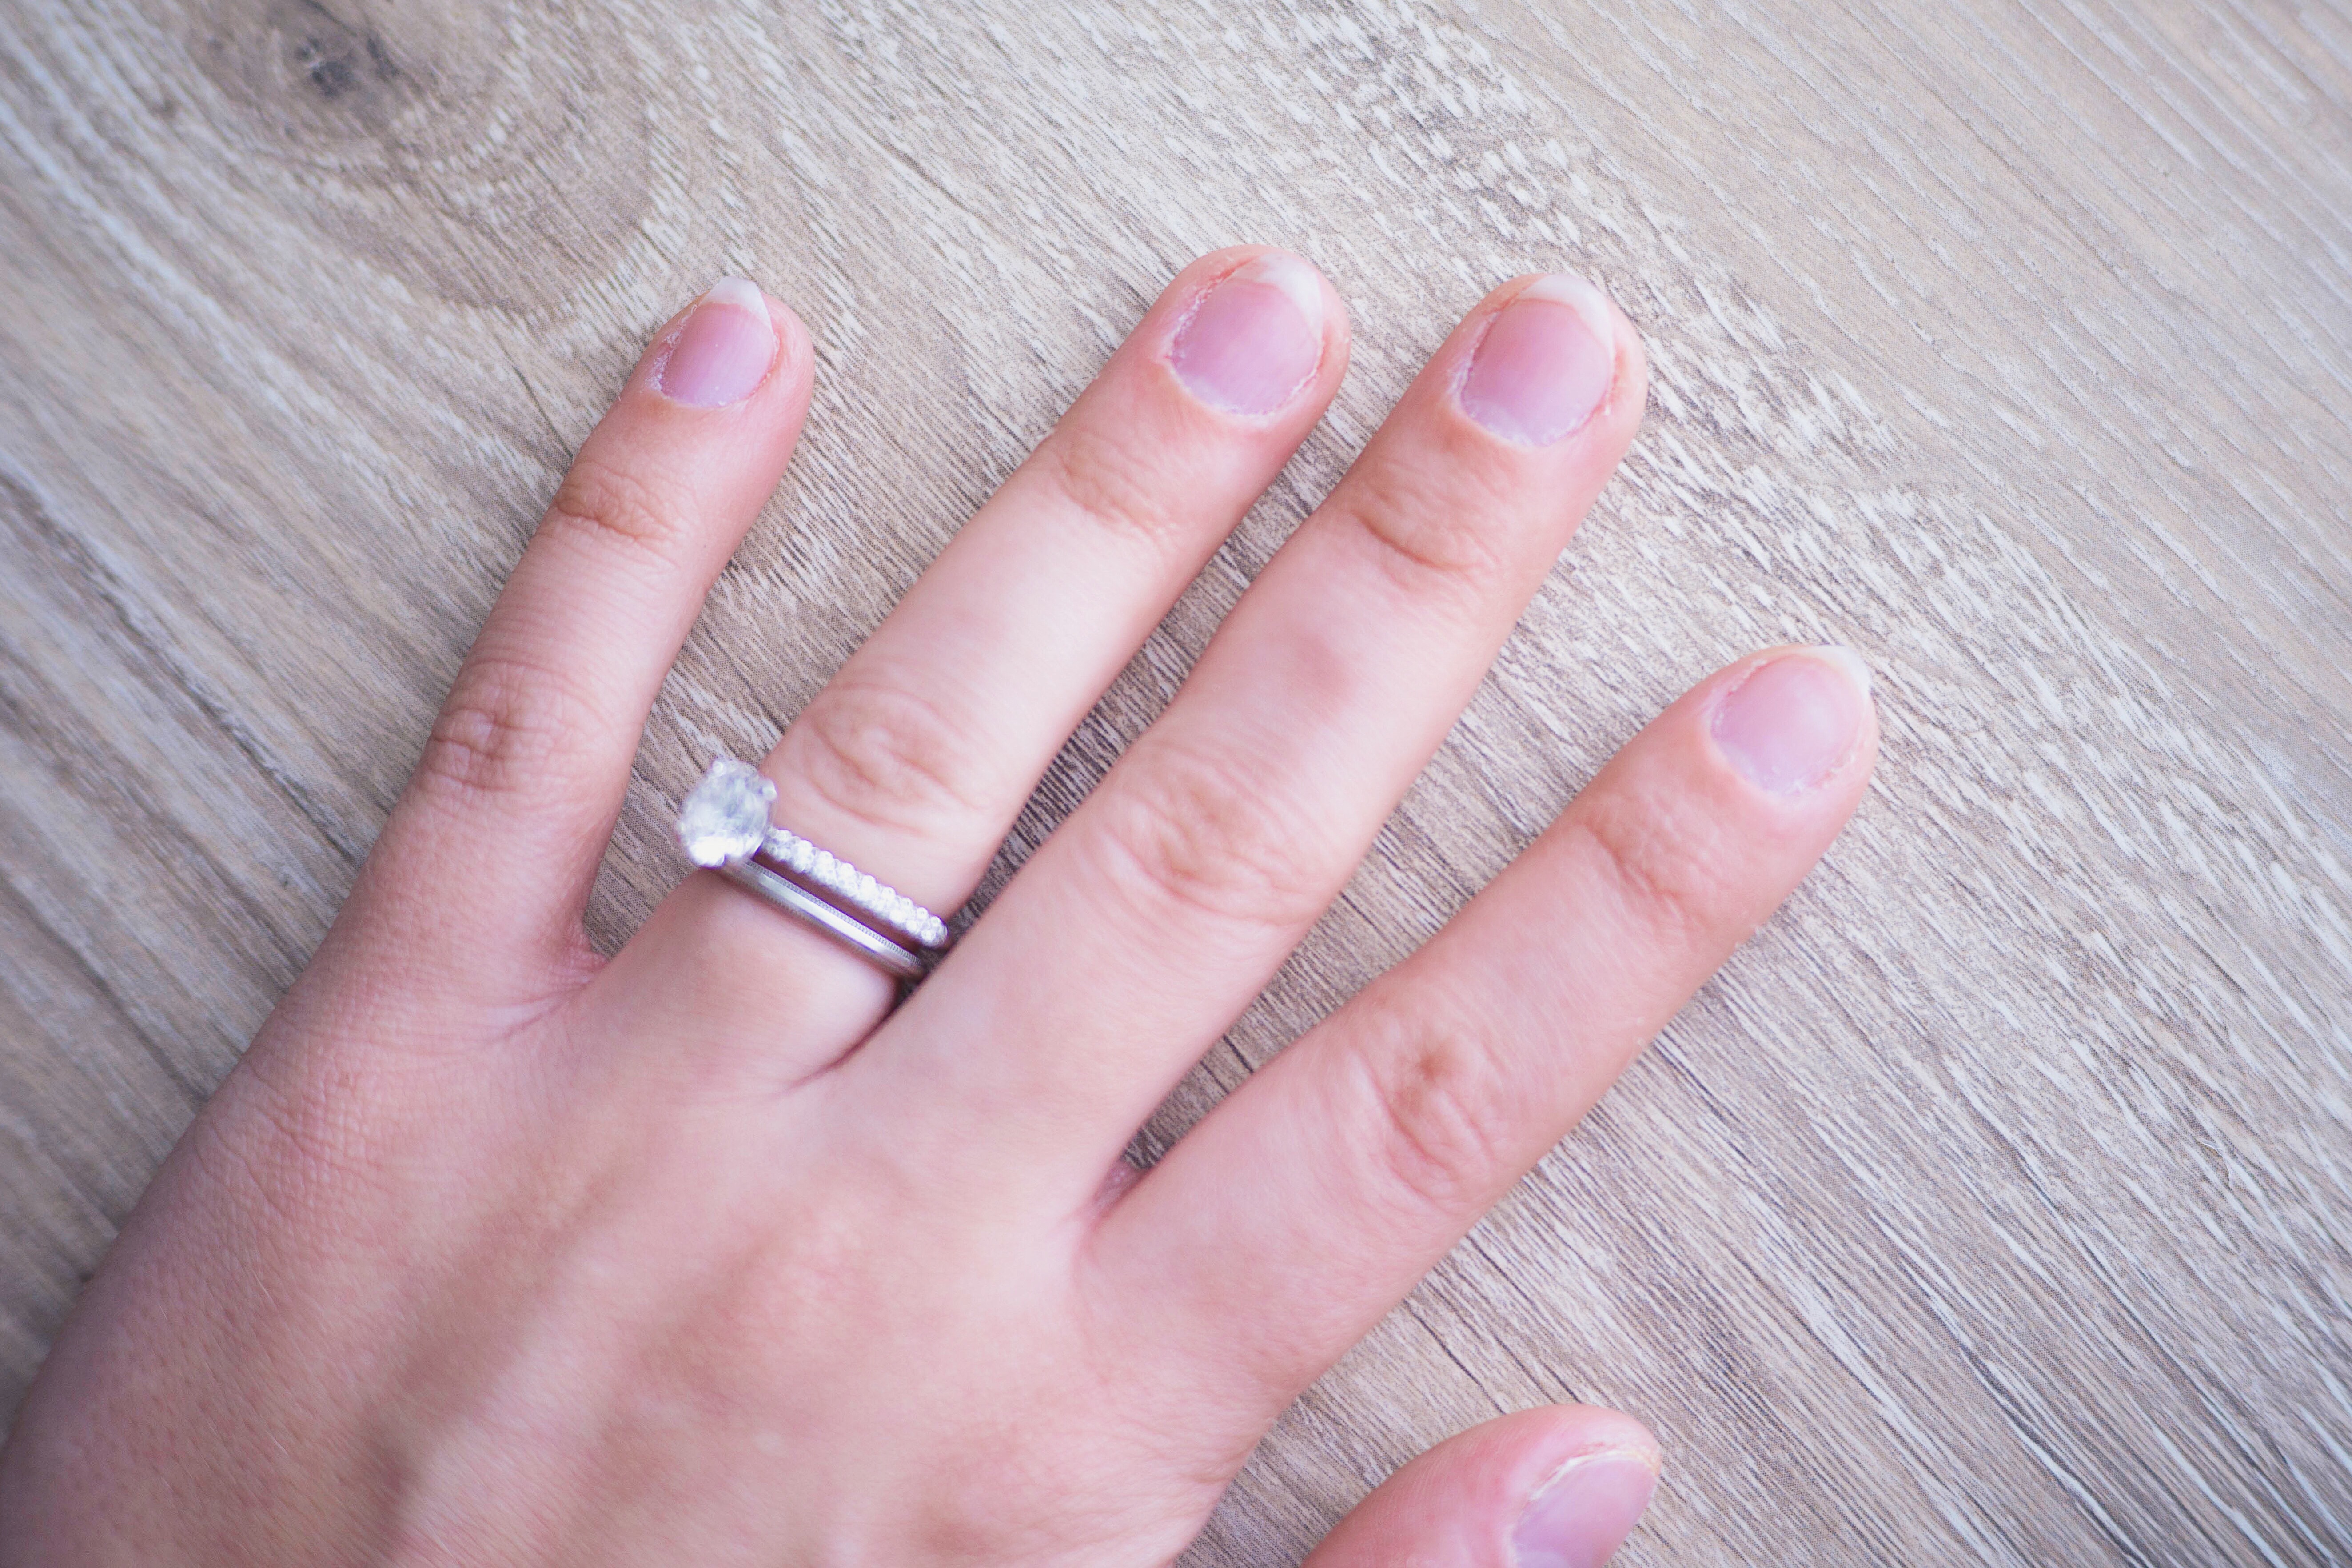
This file is hands down my favorite ‘I’m a sucker in the checkout line’ Sephora purchase. – You know, where all the overpriced travel size products are placed to sucker you into spending even more money. Well good news, this nail file wasn’t expensive & it will last FOREVER. It’s amazing. I use it to round out the edges of my nails and make sure everything is smooth and nicely shaped. Less is more though, you can always file more down so use a light hand for this part.
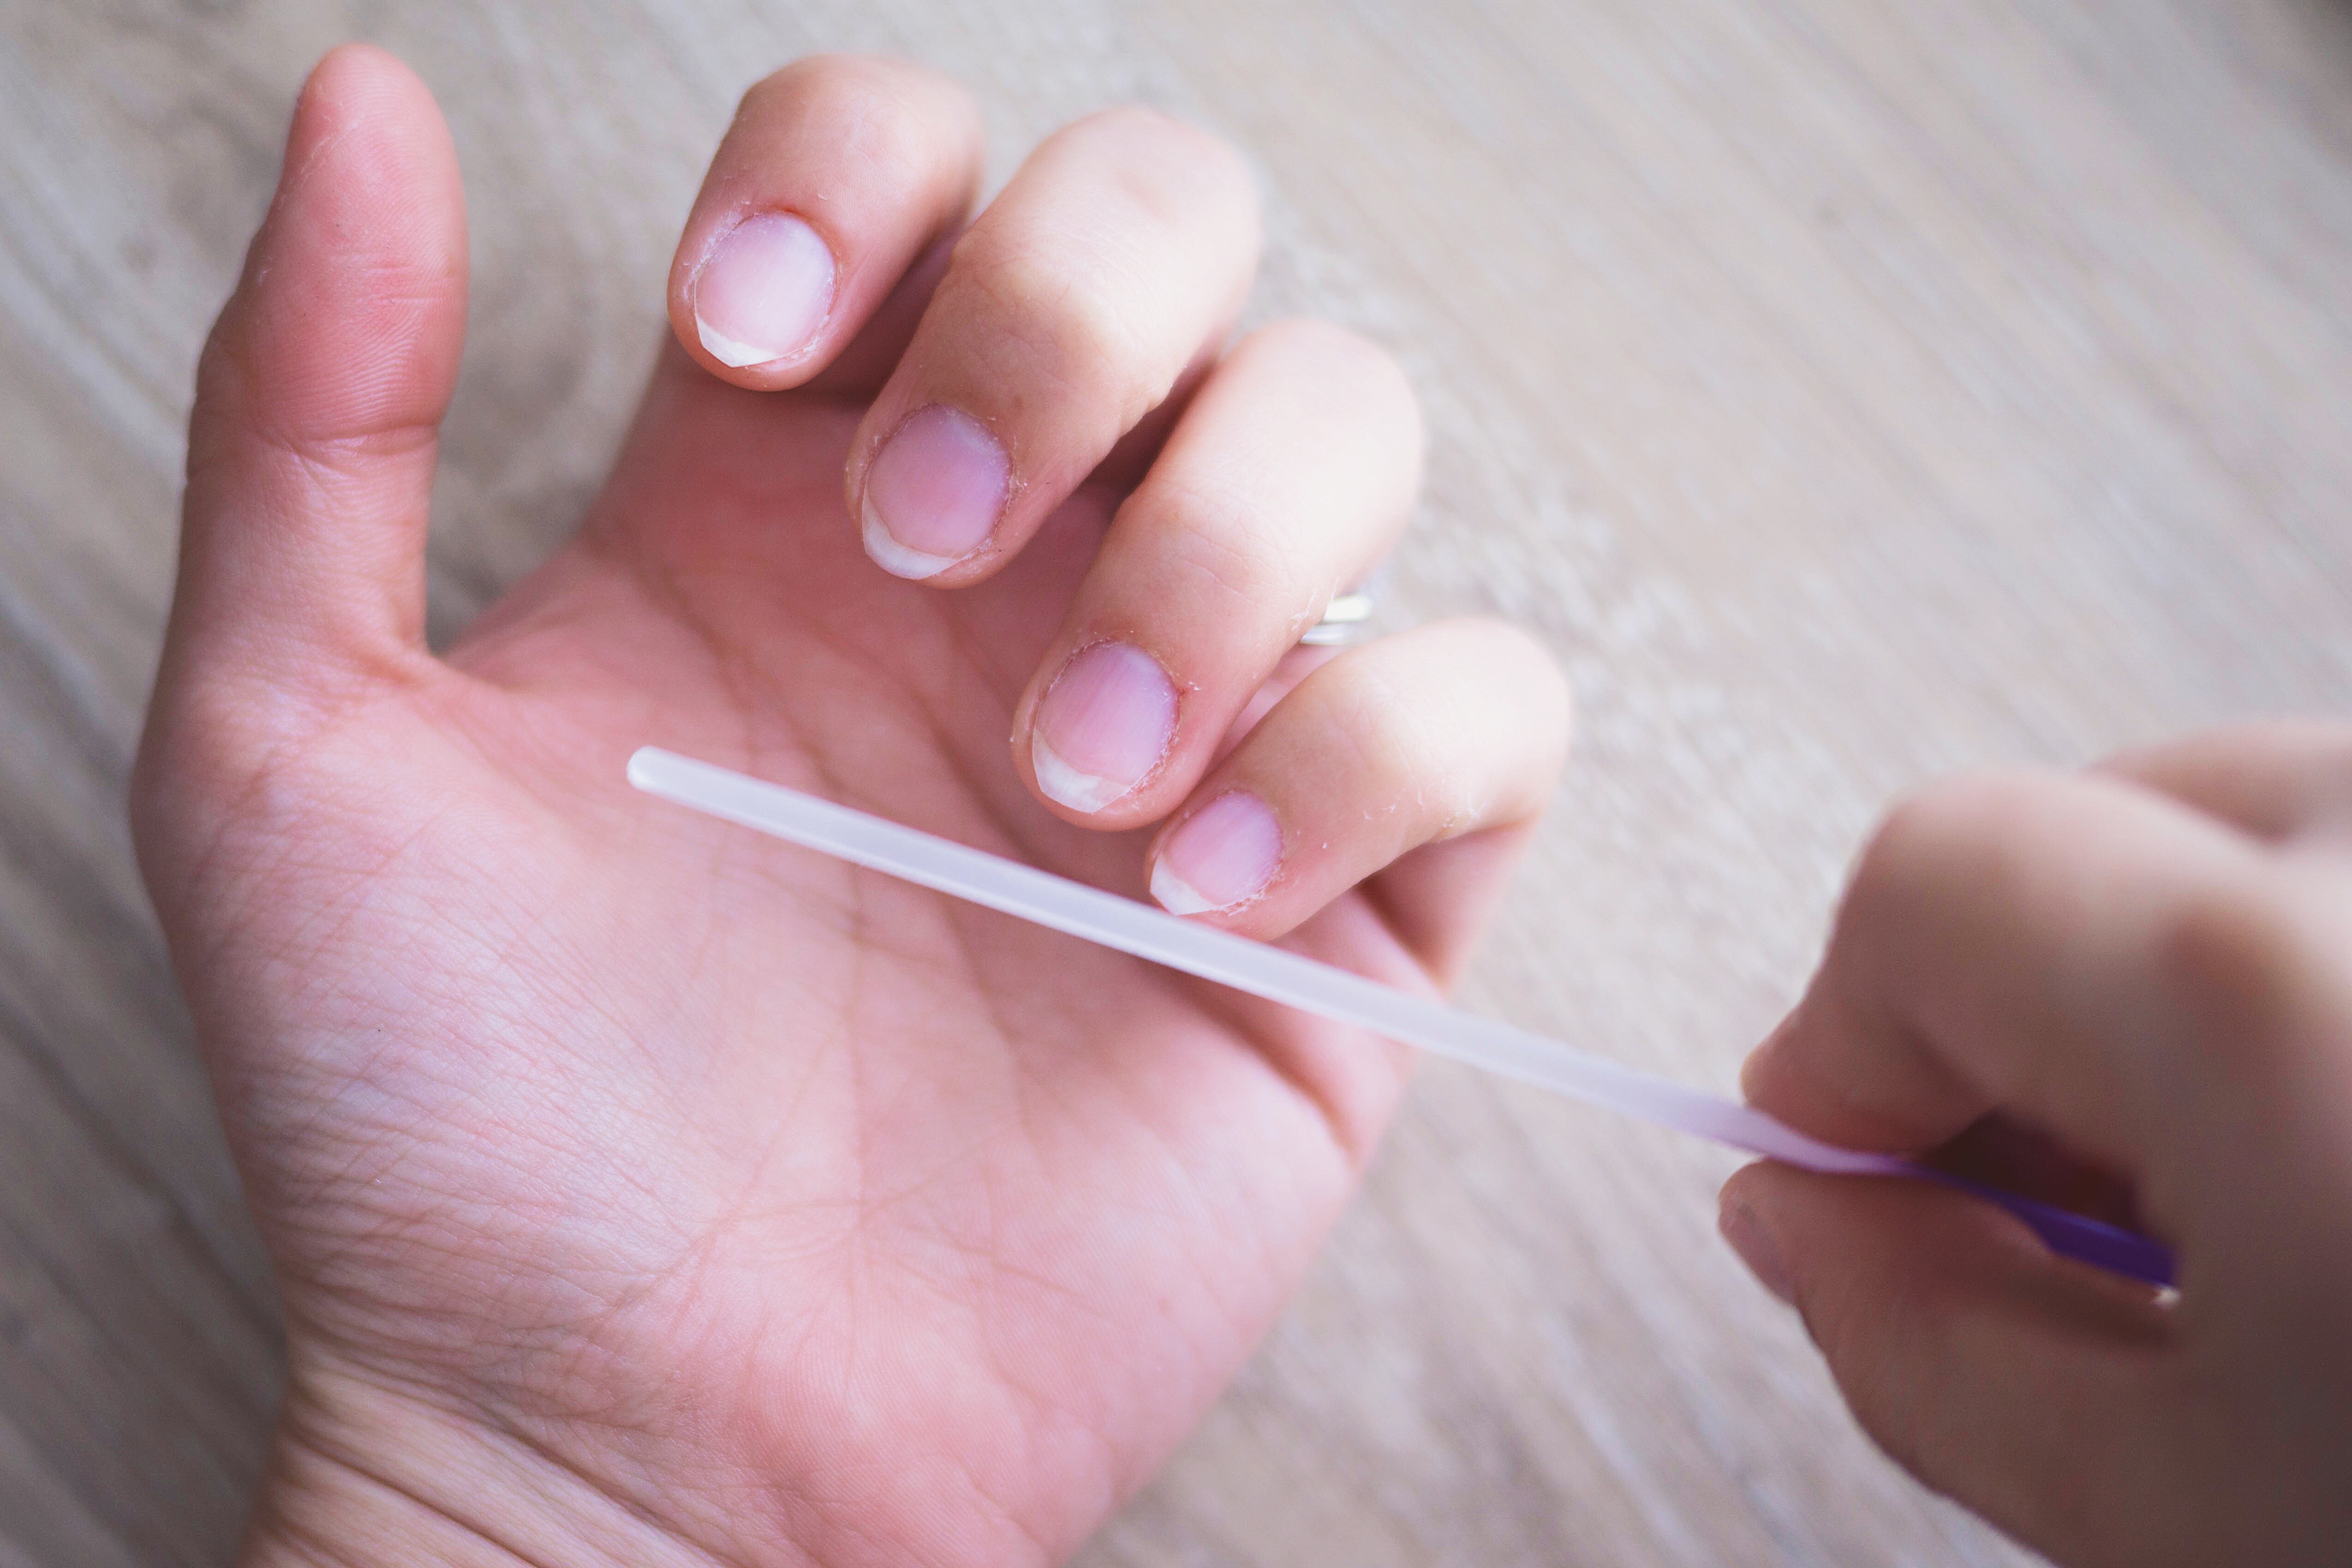
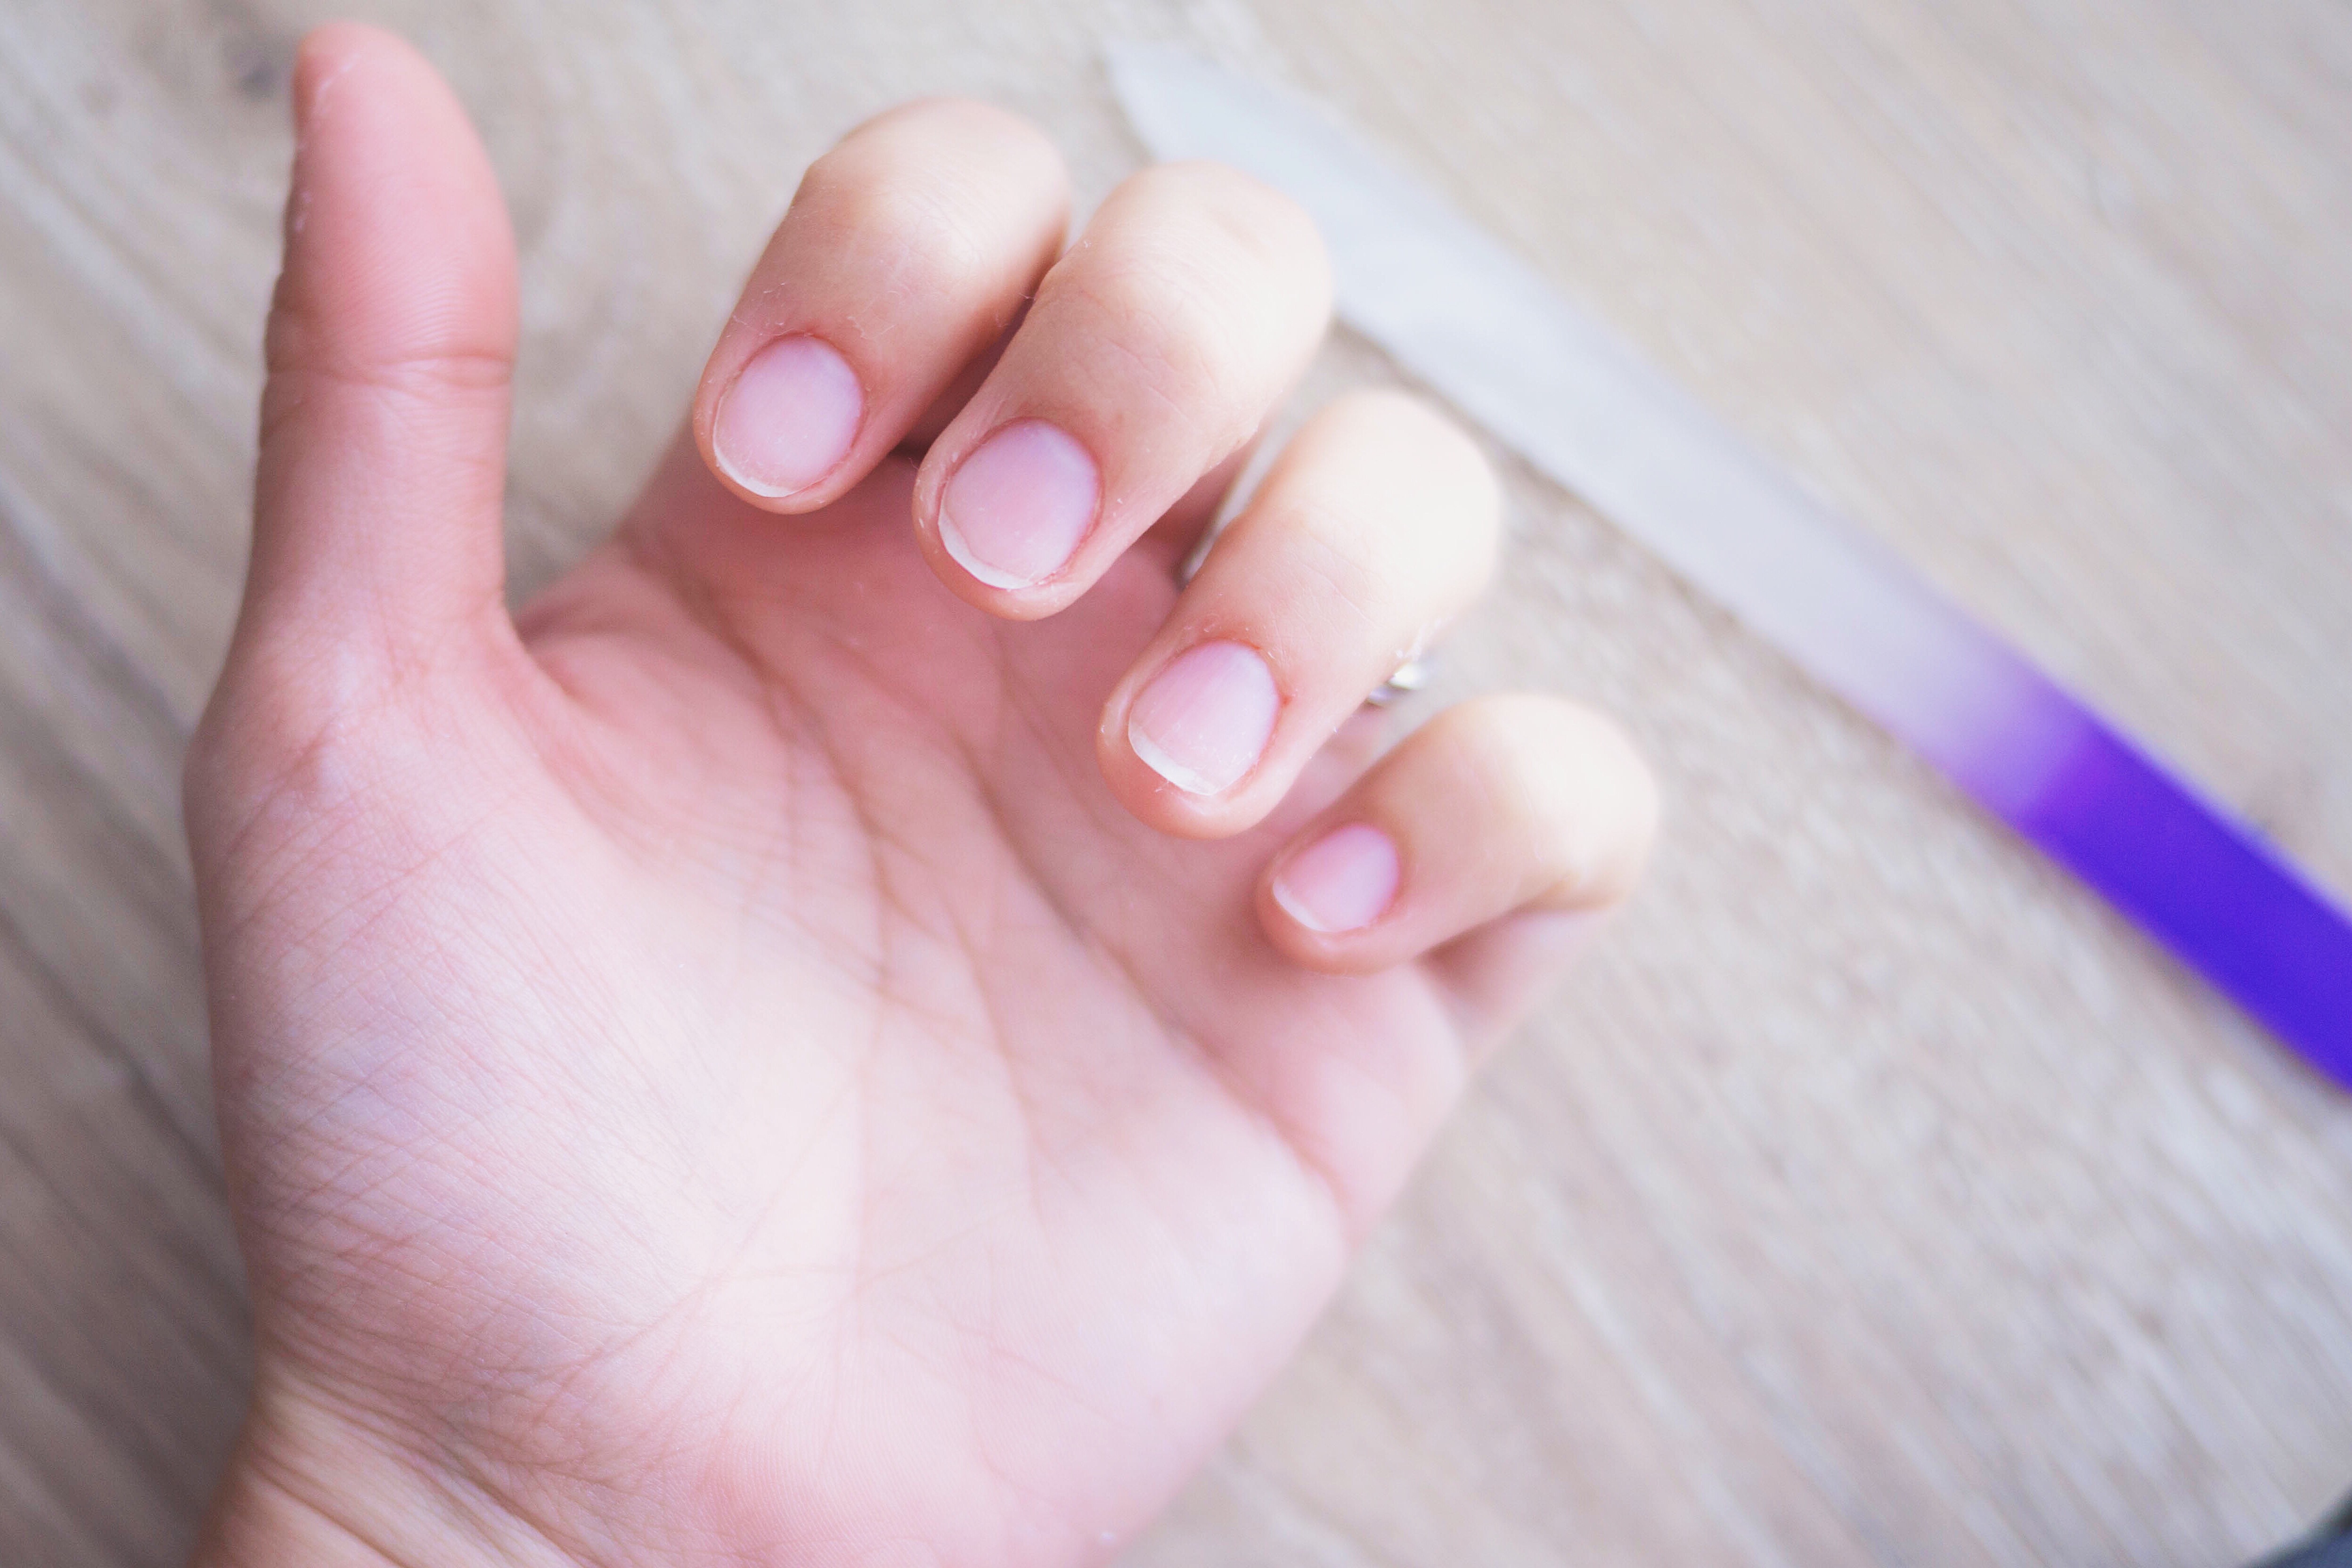
Now for the fun part!! The first layer of polish is a base coat. Apply a thin layer to each nail and let it dry. This doesn’t take very long to dry because it’s such a light coat, so this is a pretty quick step.
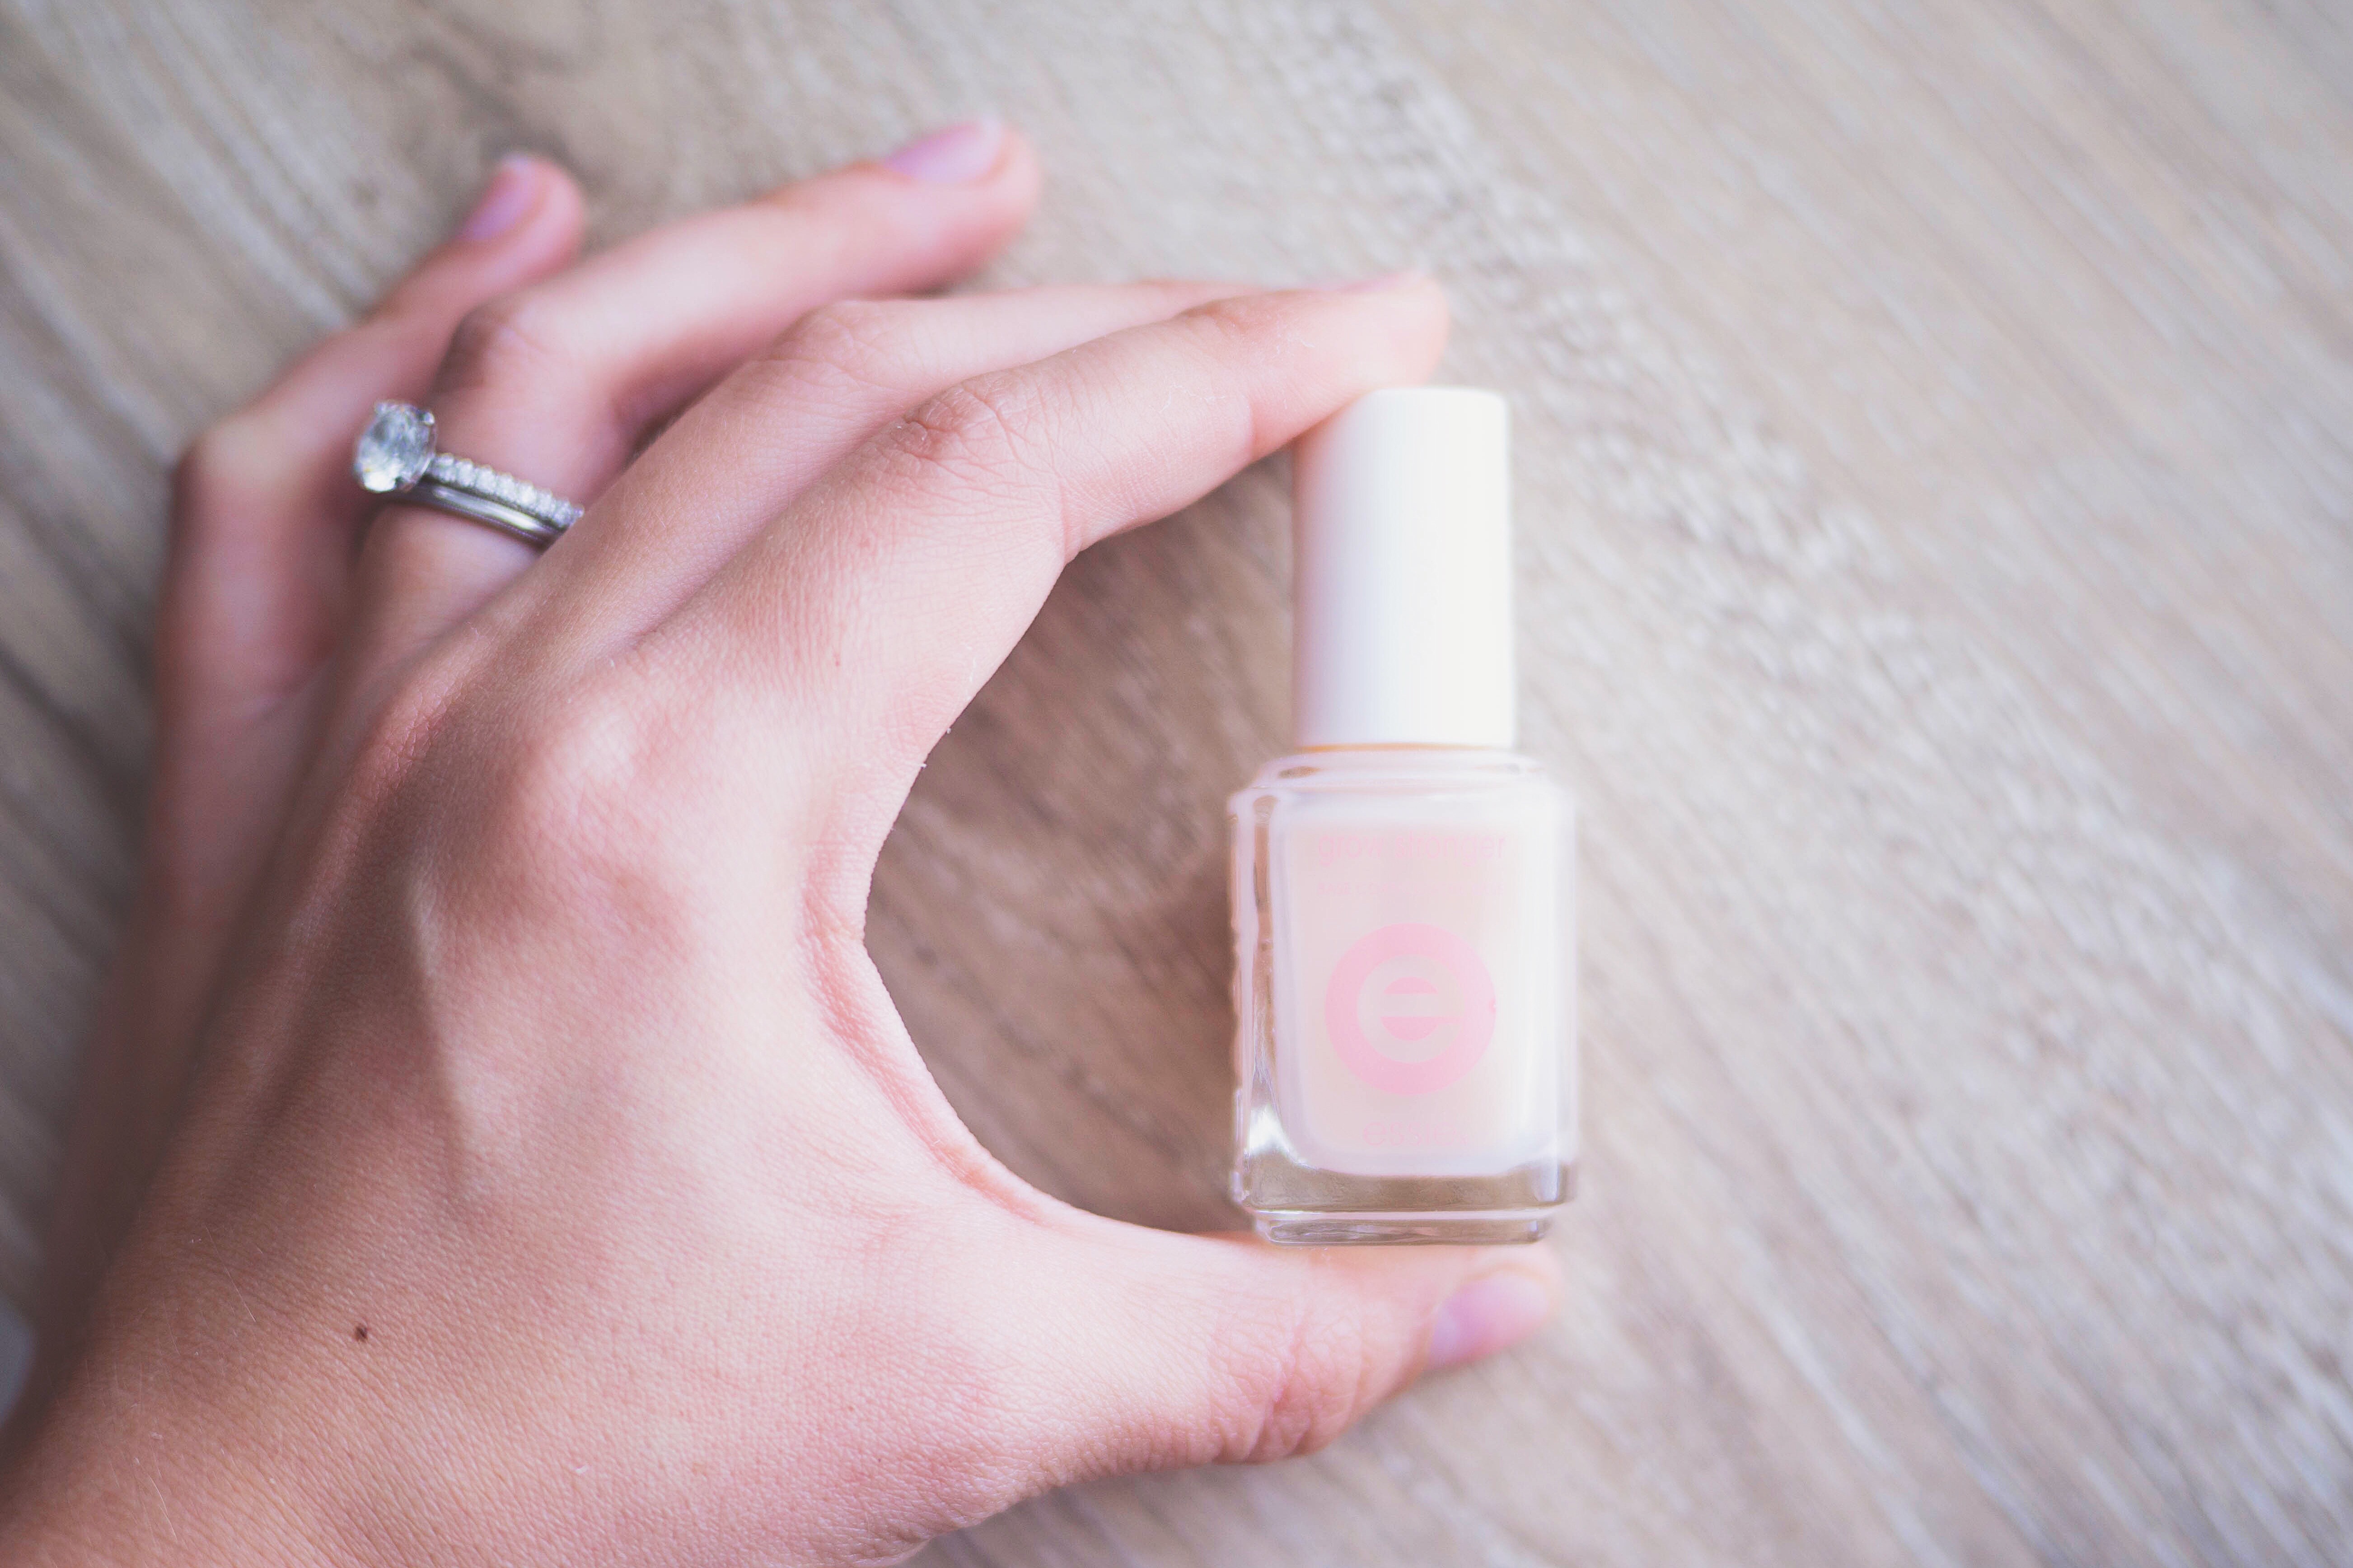
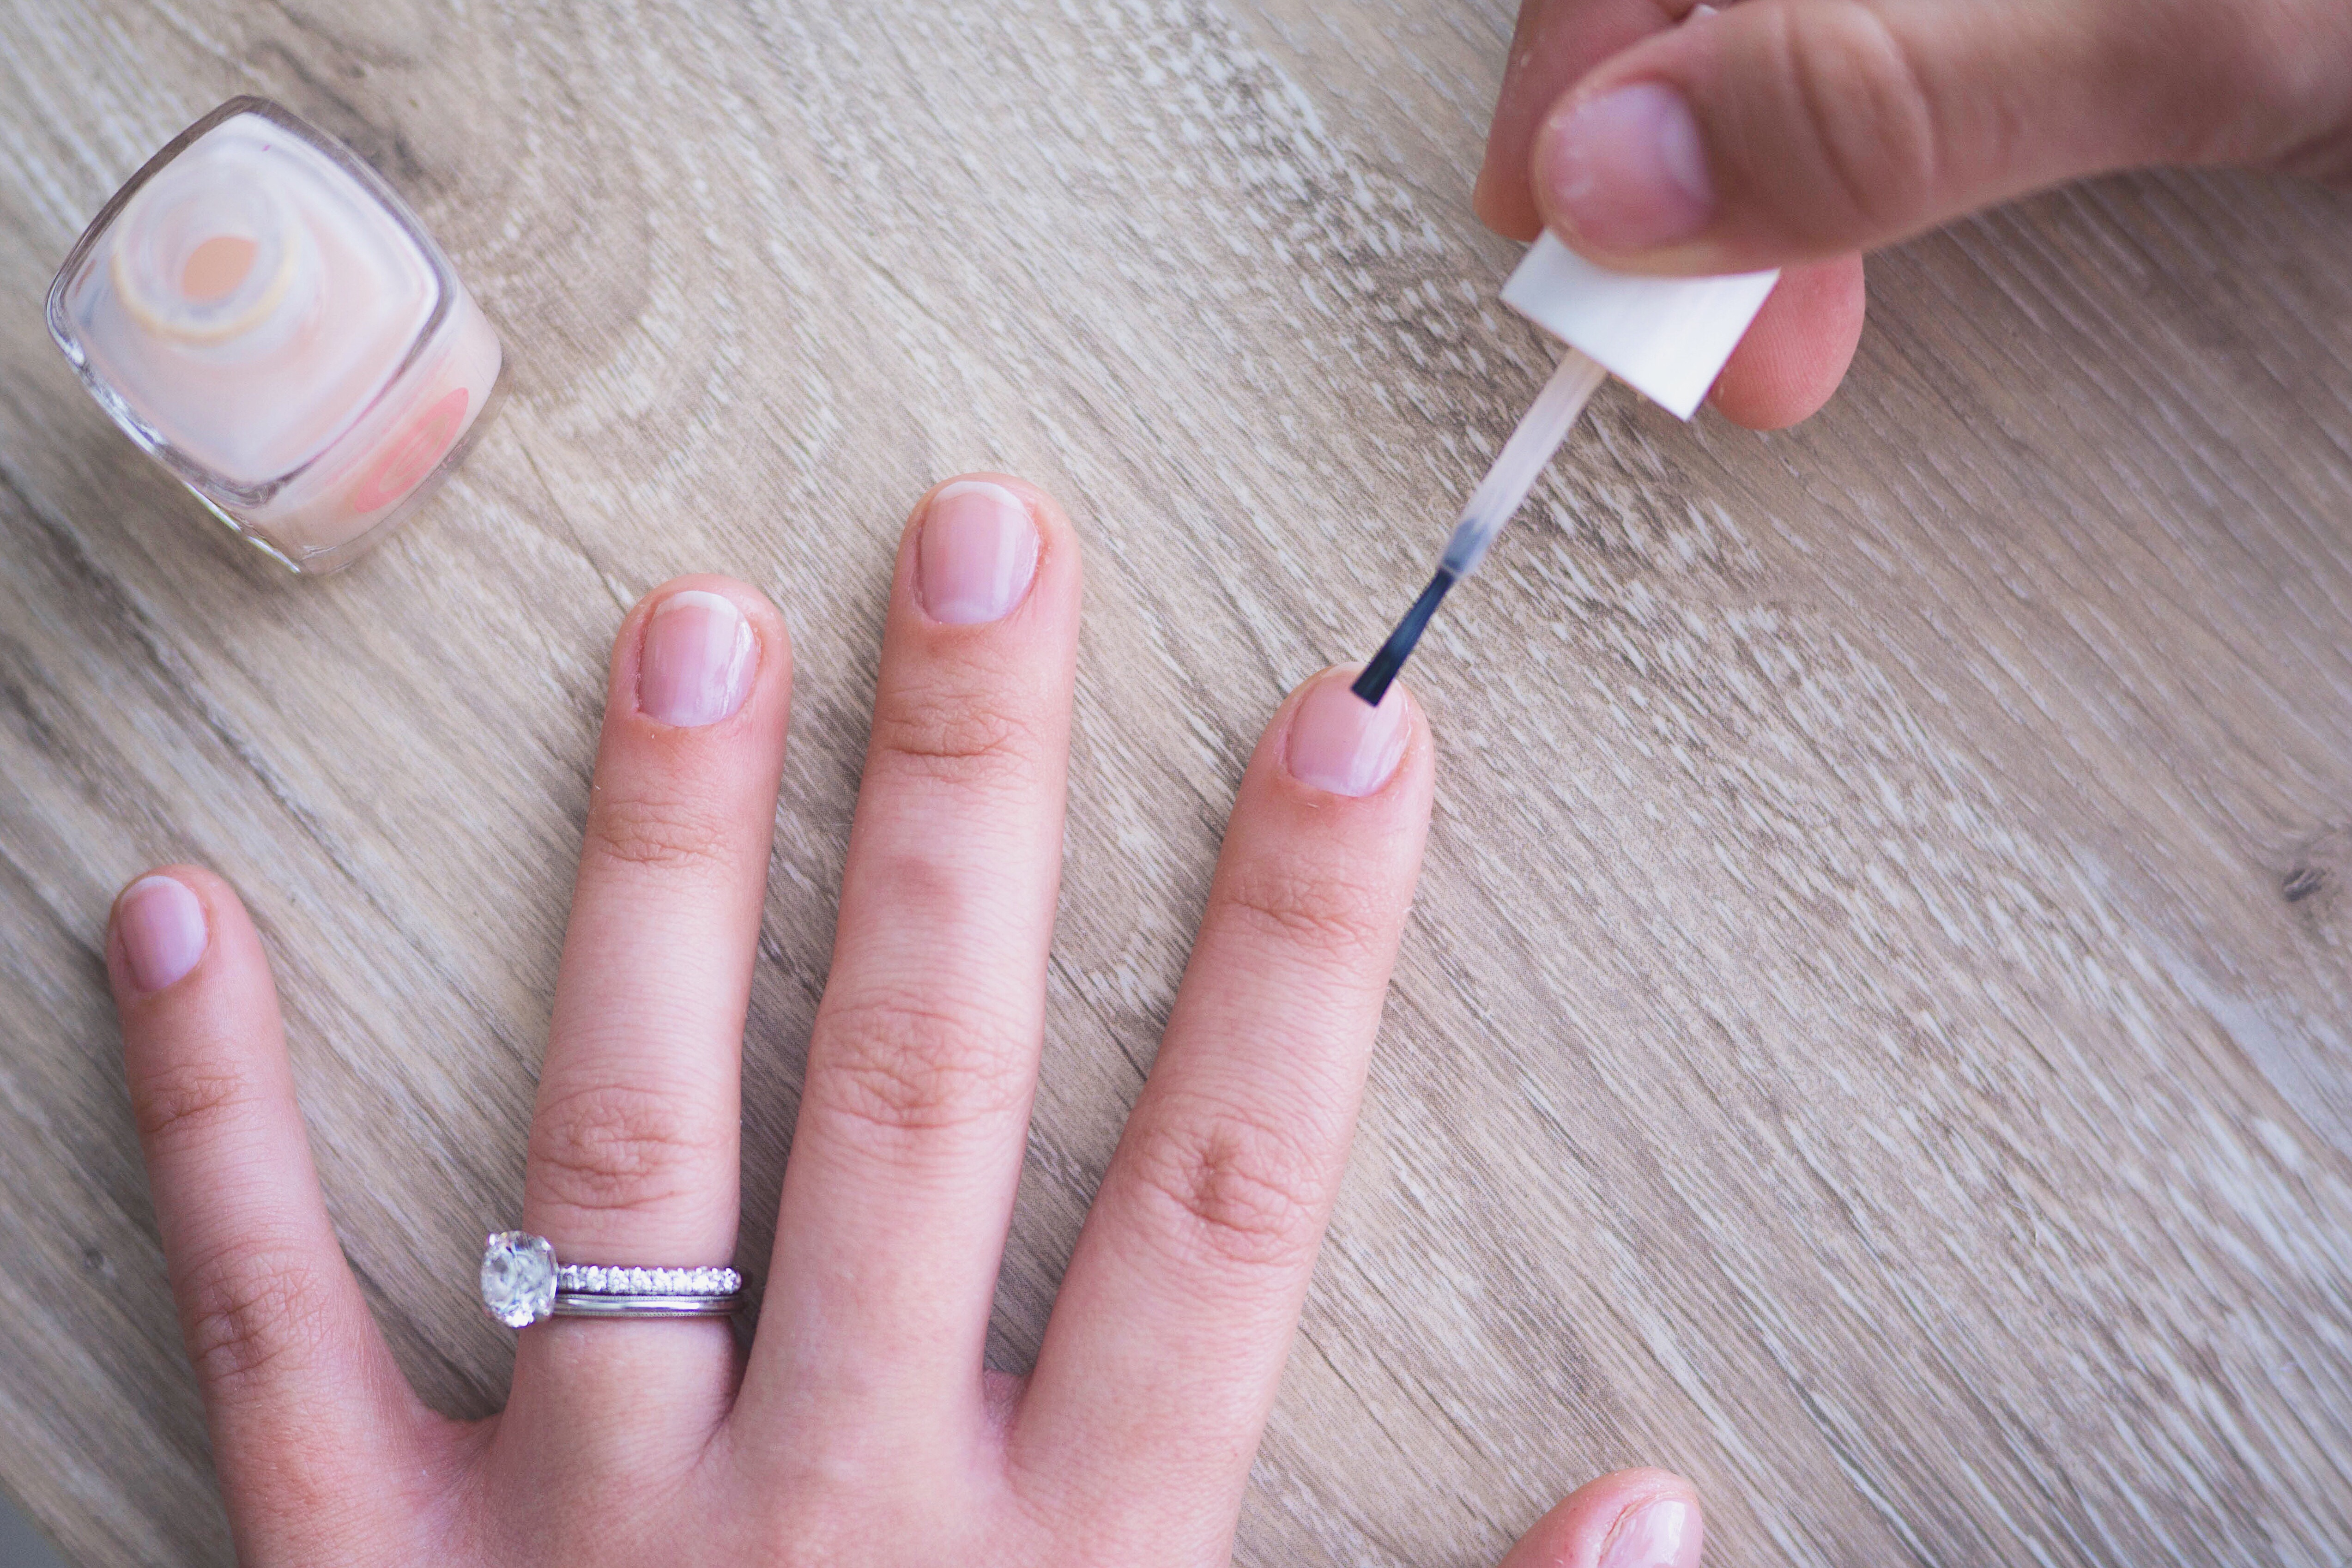
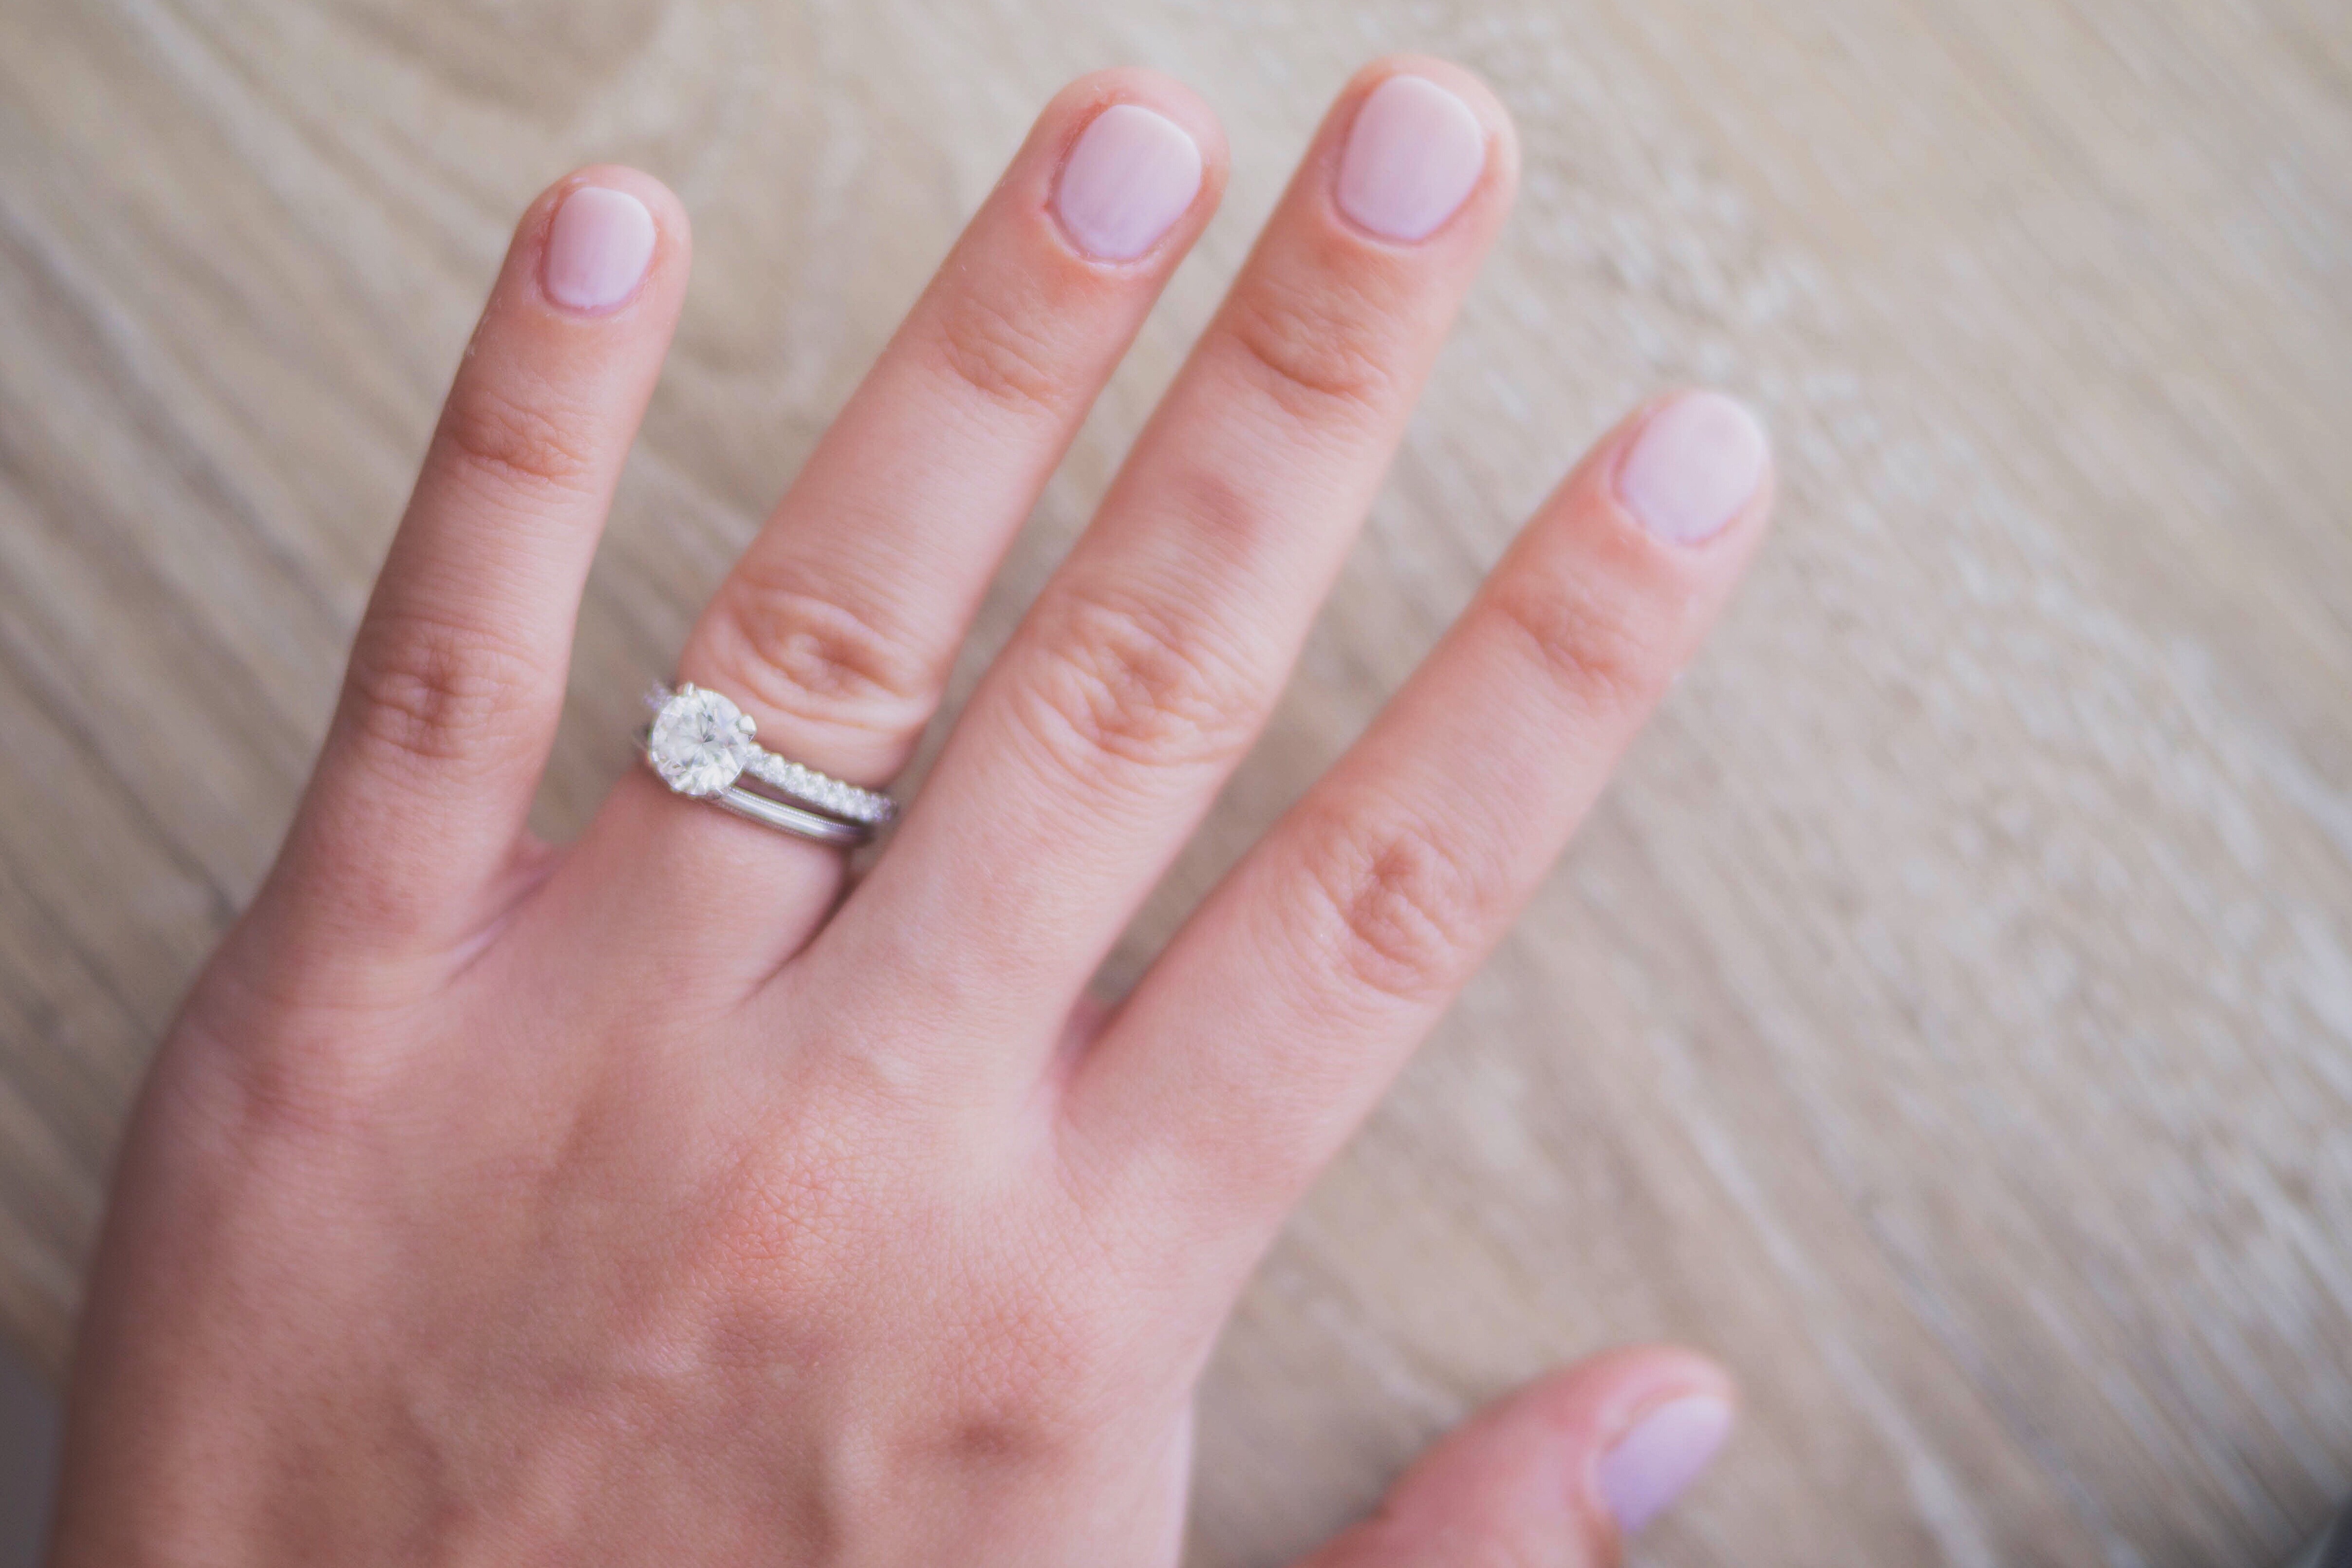
Next up, the polish! This is my favorite color for all seasons, it’s the perfect pink! The trick here is to apply two layers. The first layer should be very thin, enough to still be able to see through it a little.
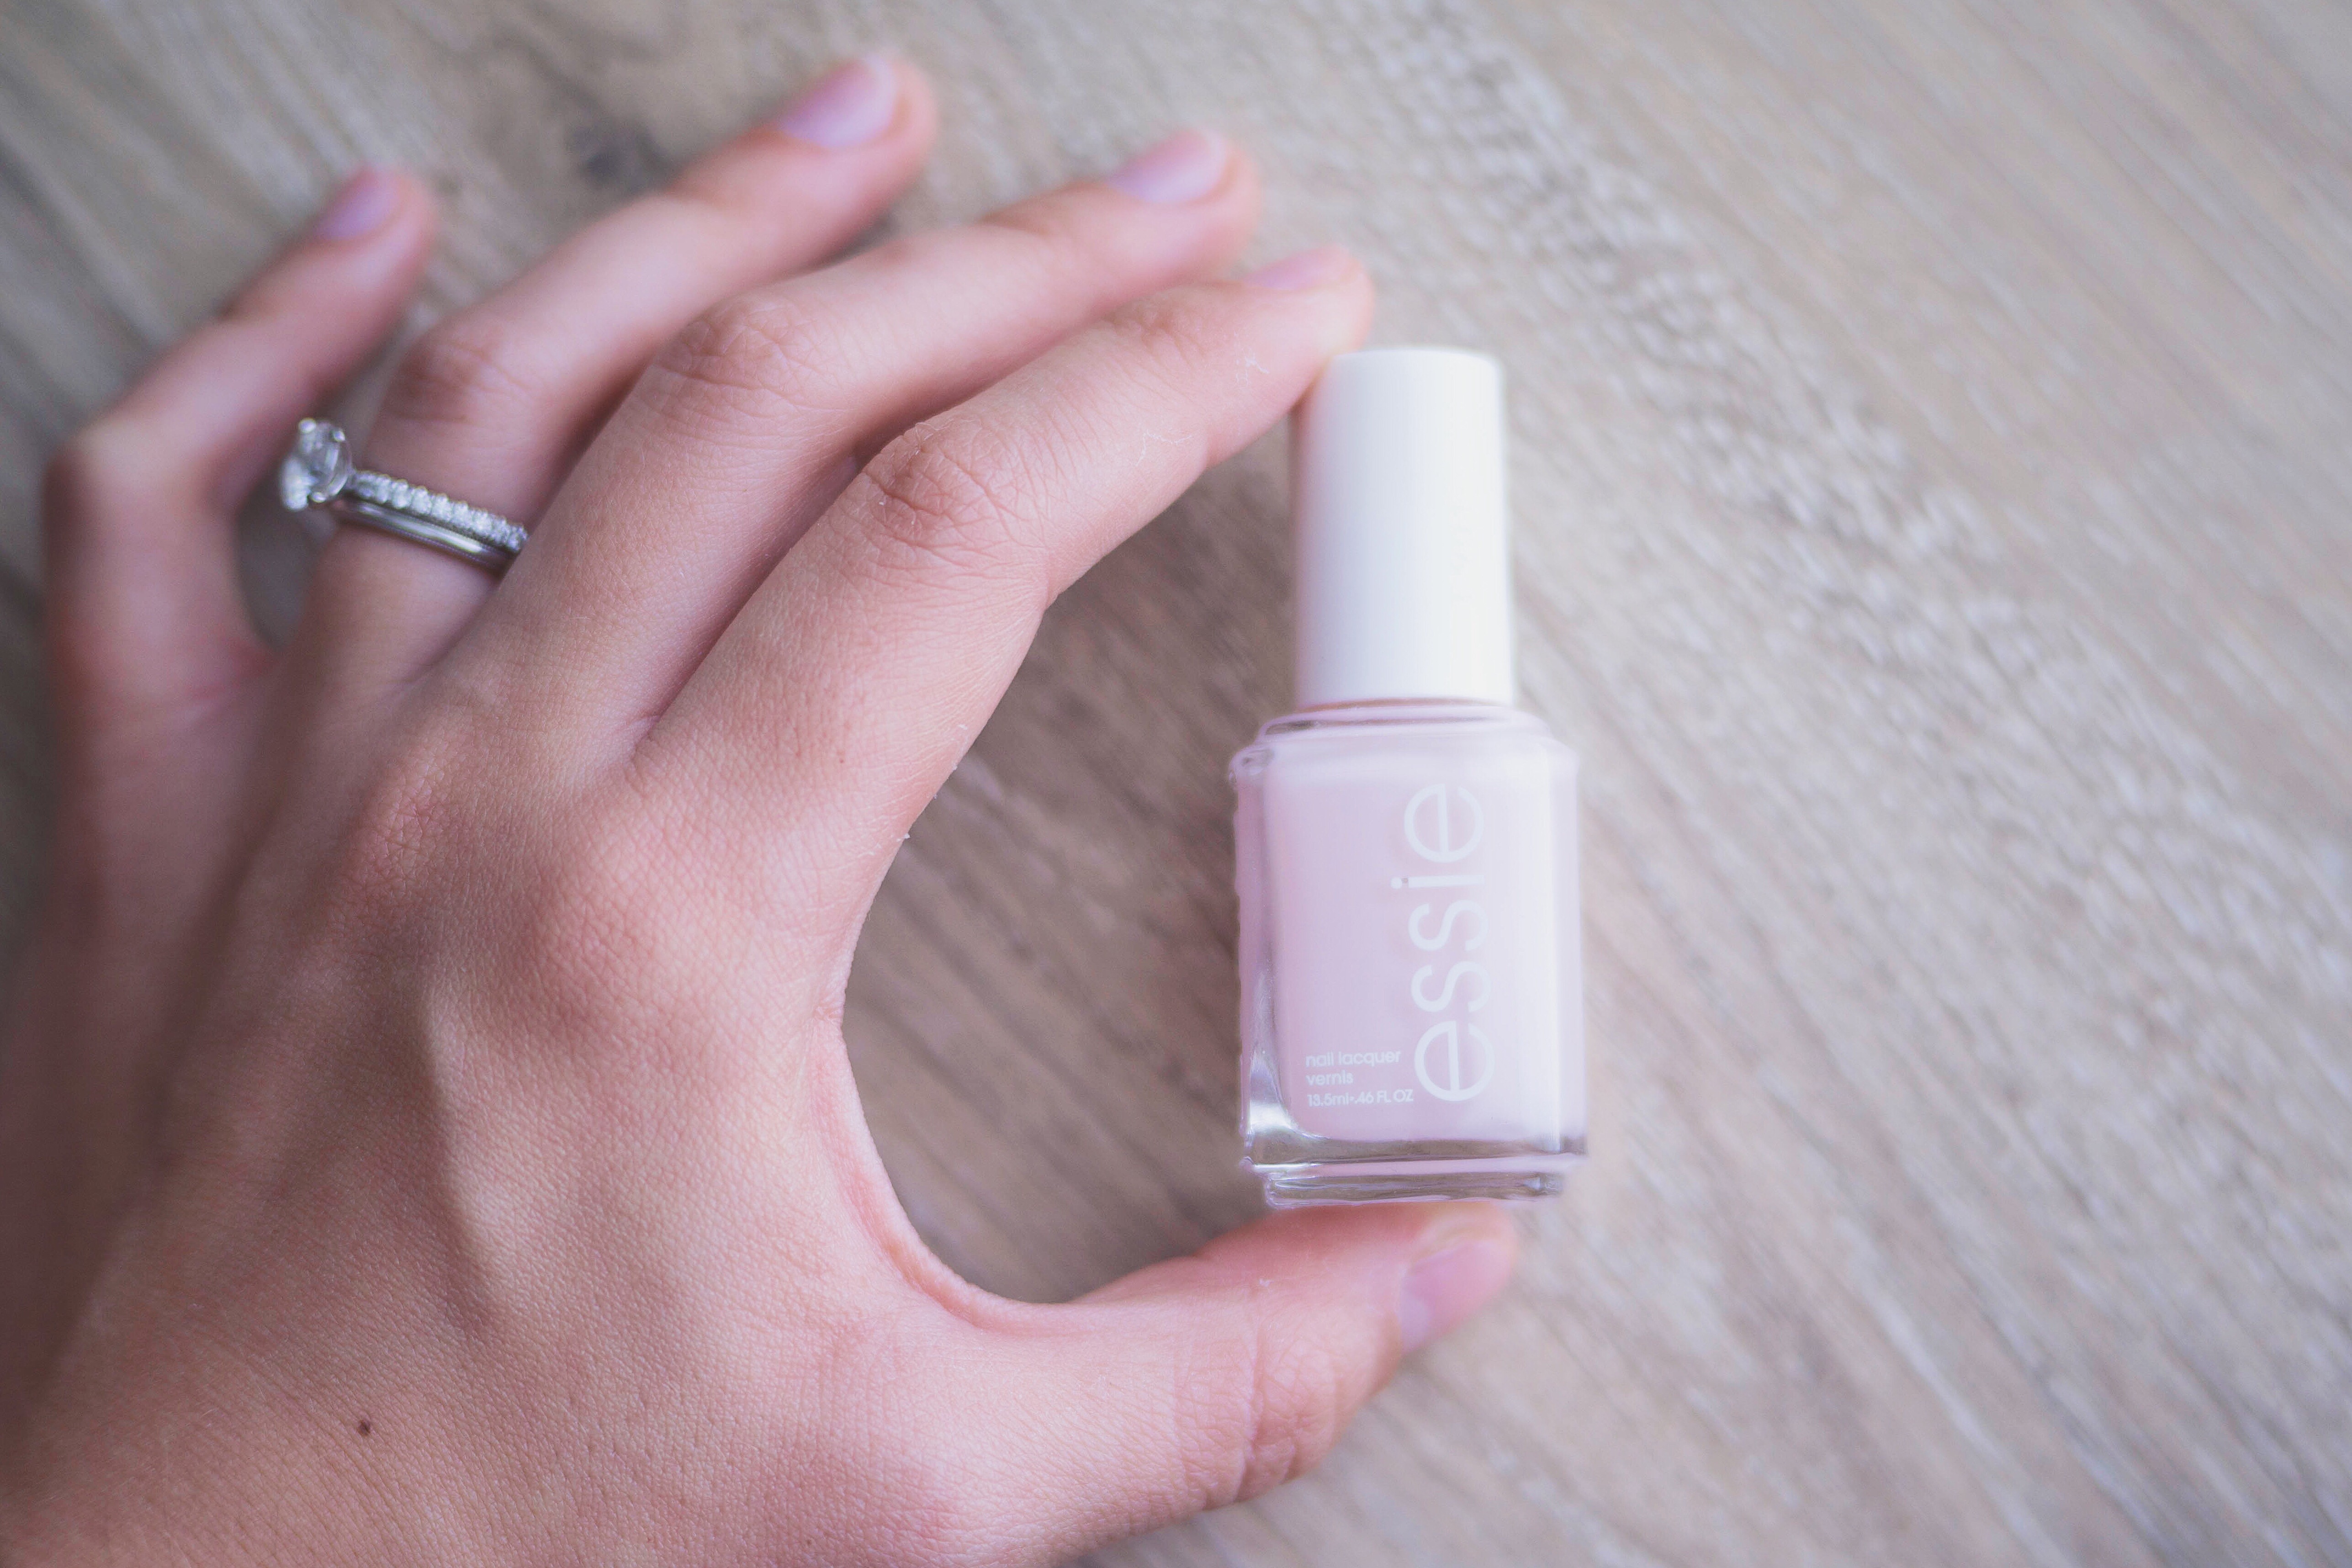
Start at the base of your nail and glide up the middle to the nail tip. Go back to the same starting point but glide up the side to the nail tip. This gives an even coverage while coating the whole nail.
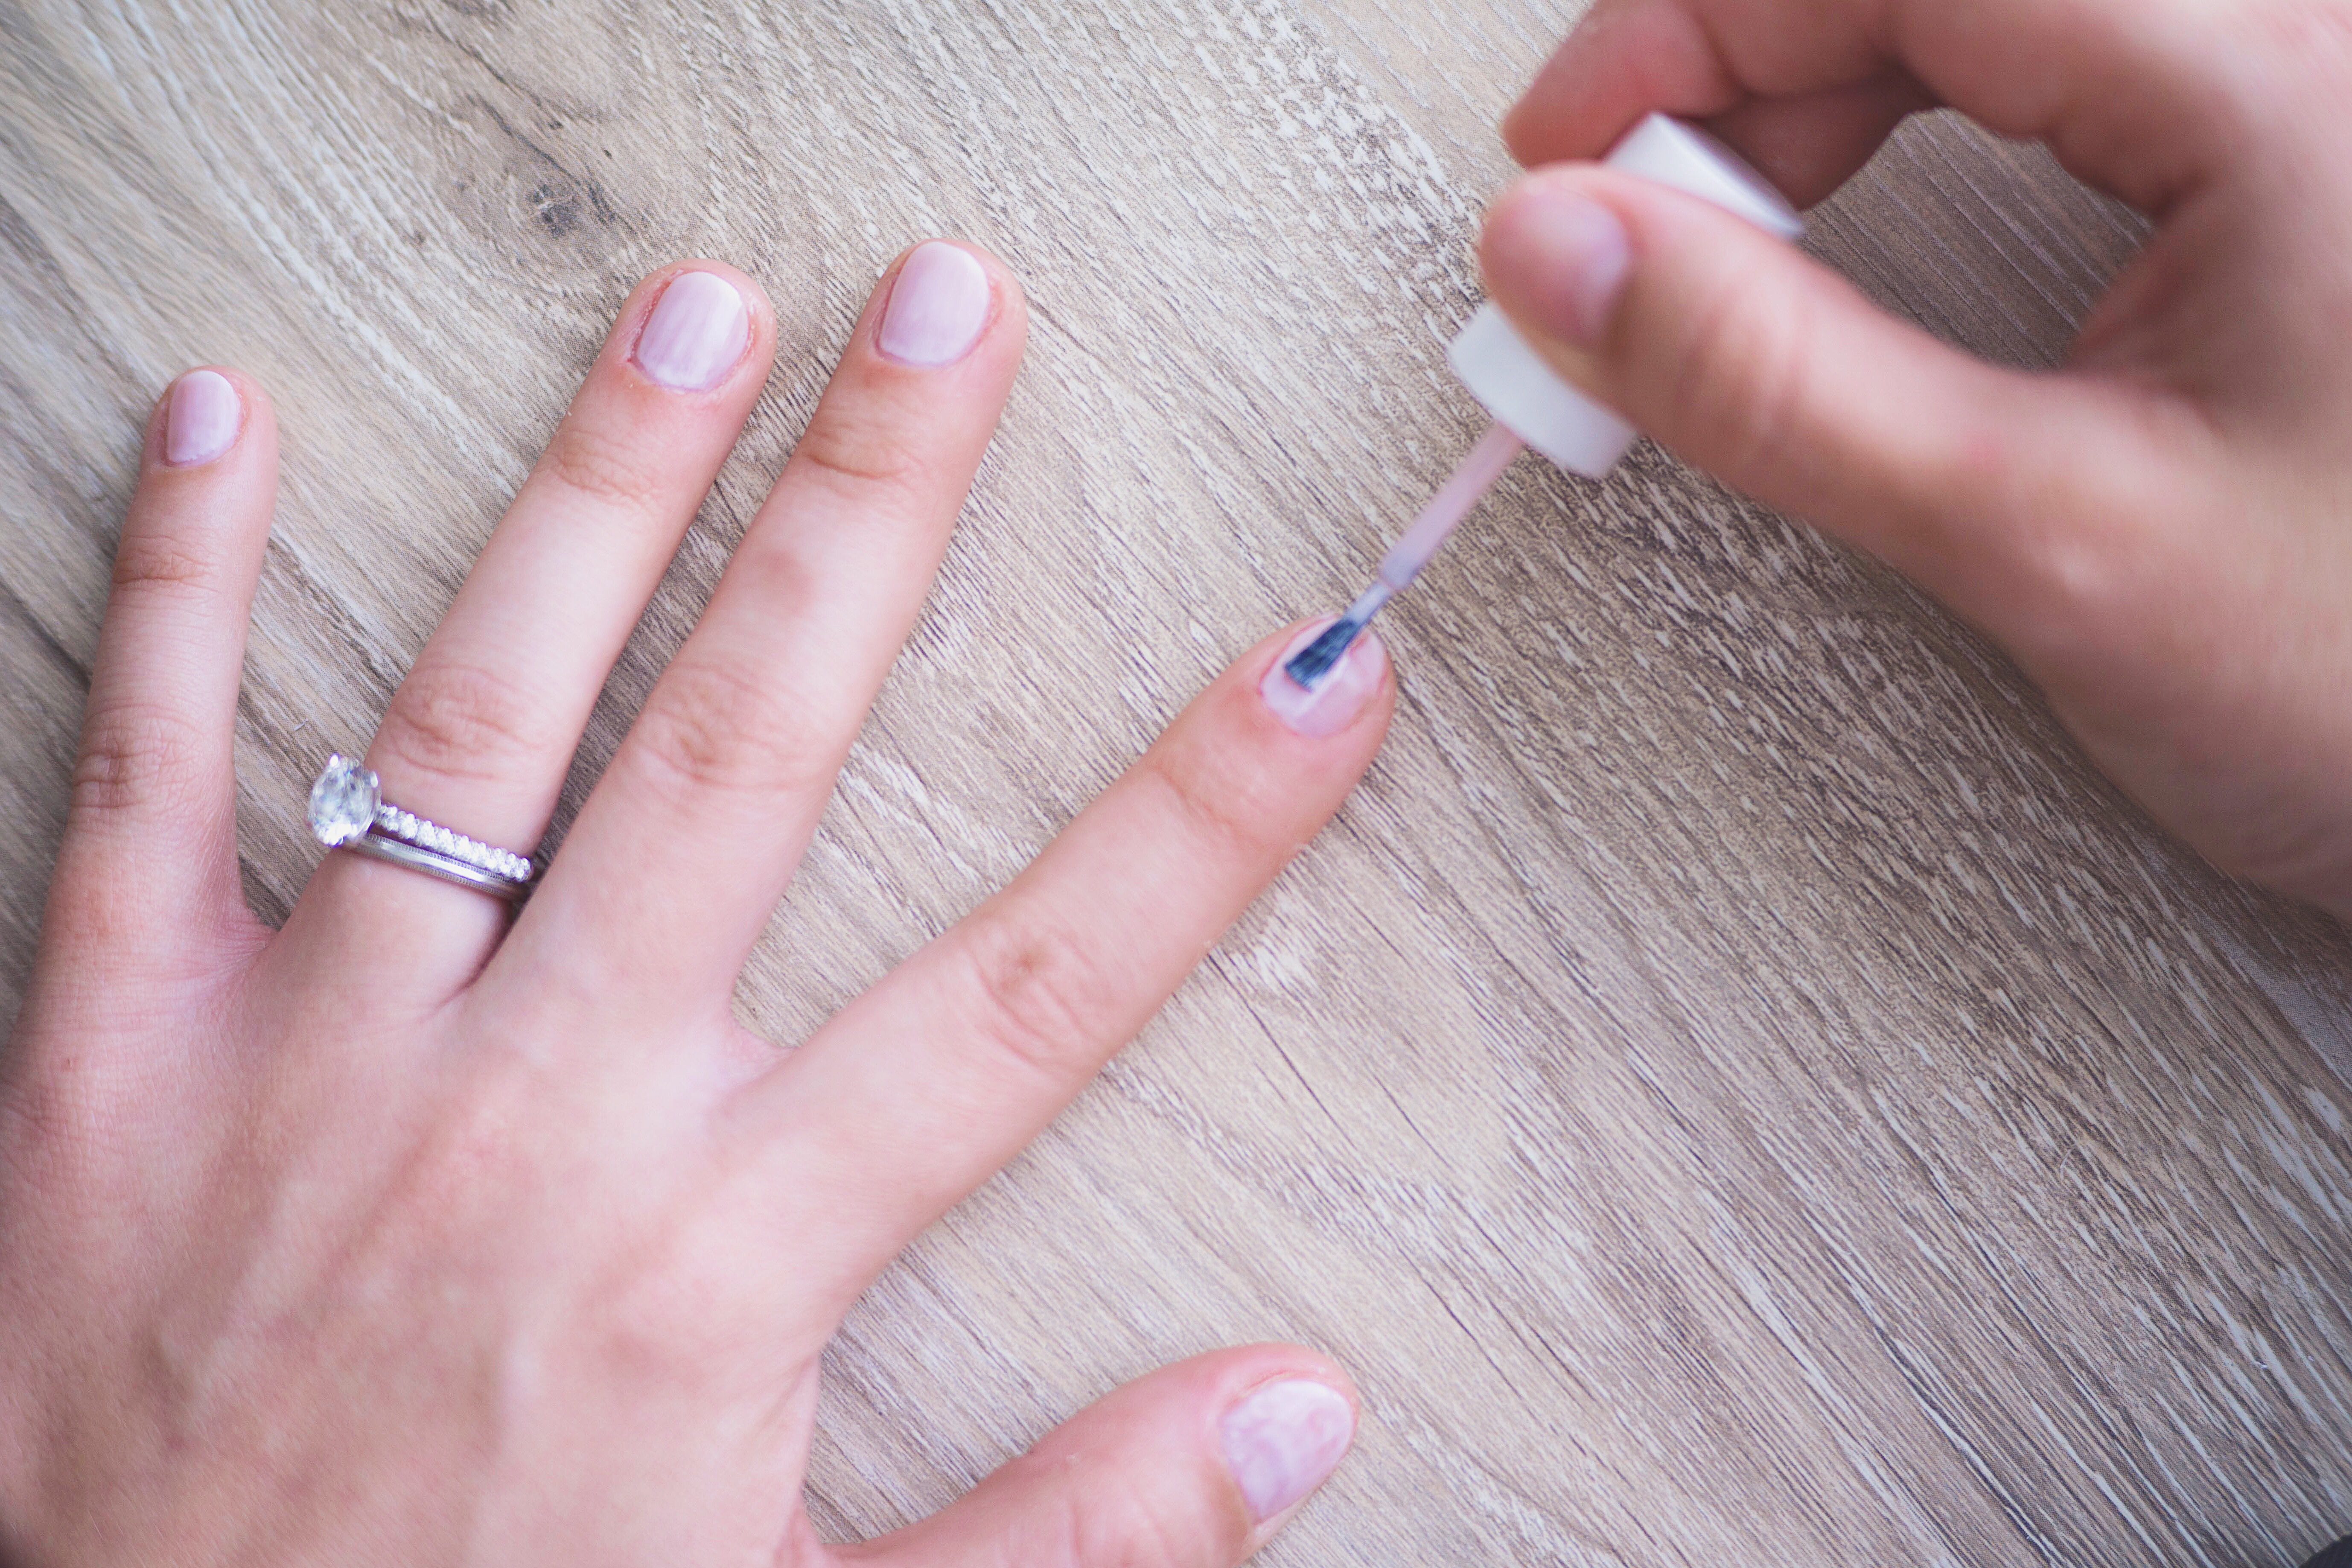
Apply your second coat in the same manor but just a little bit thicker. This should give a very nice finish and make a solid color on your nail.
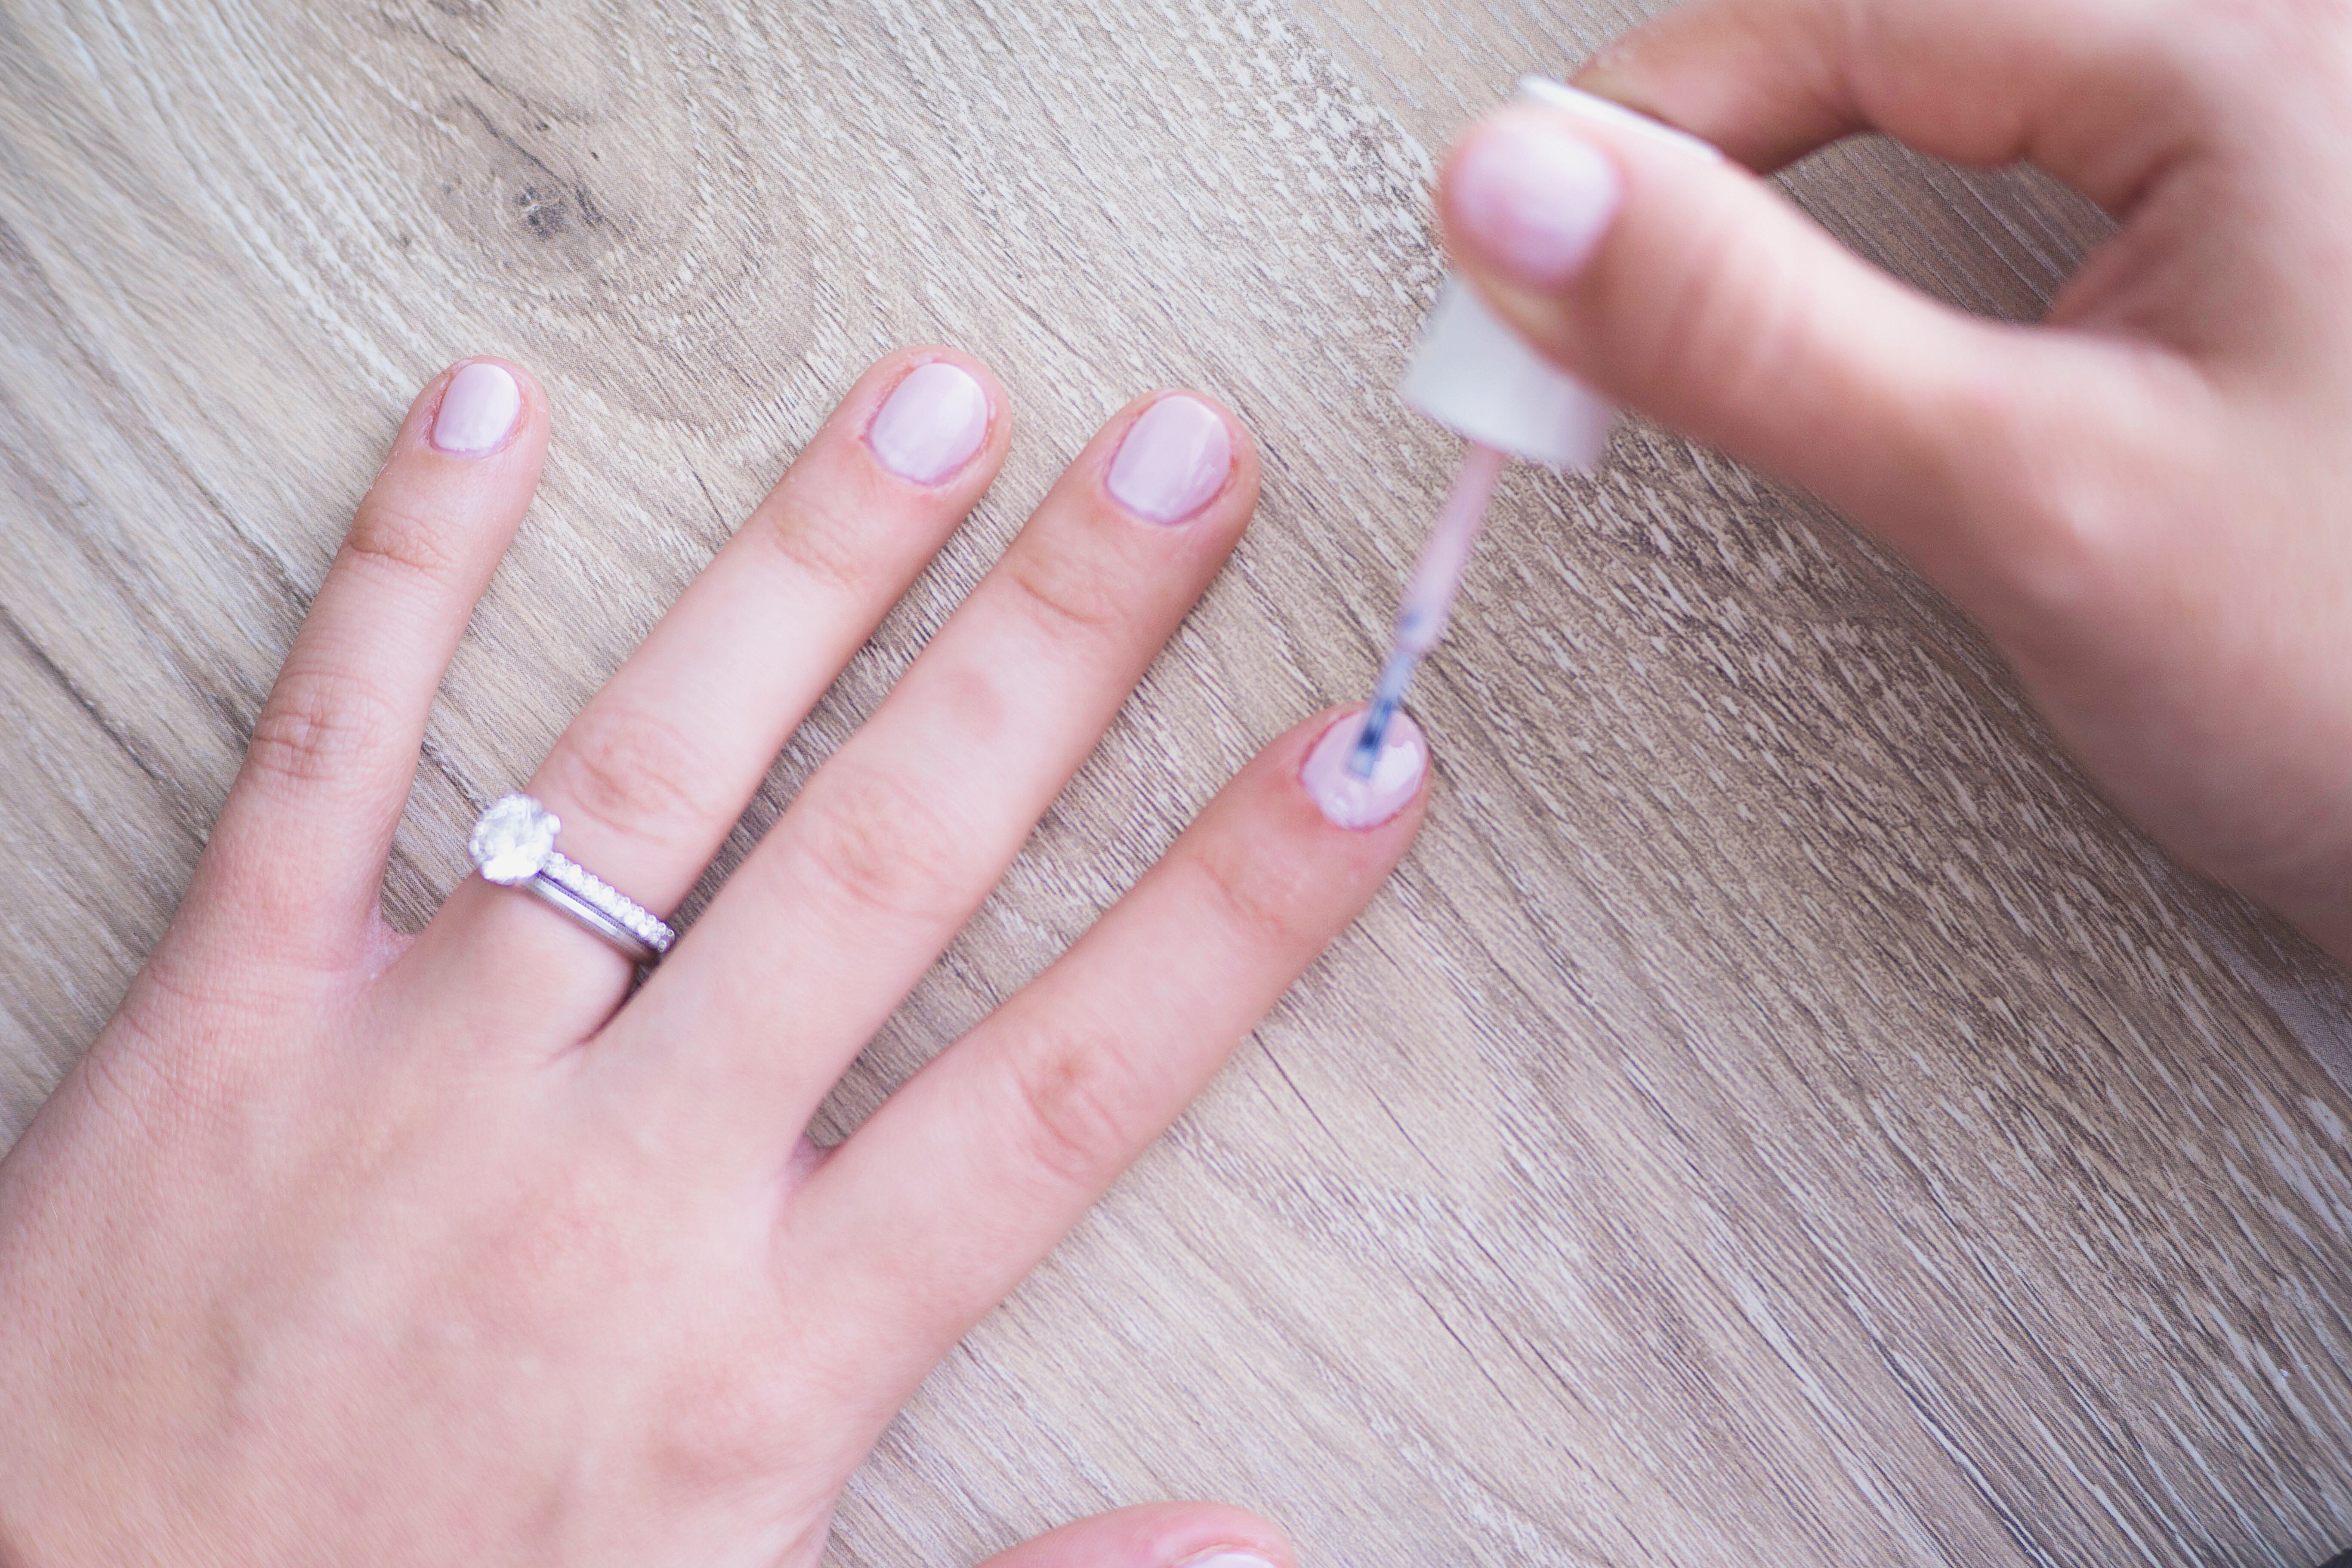
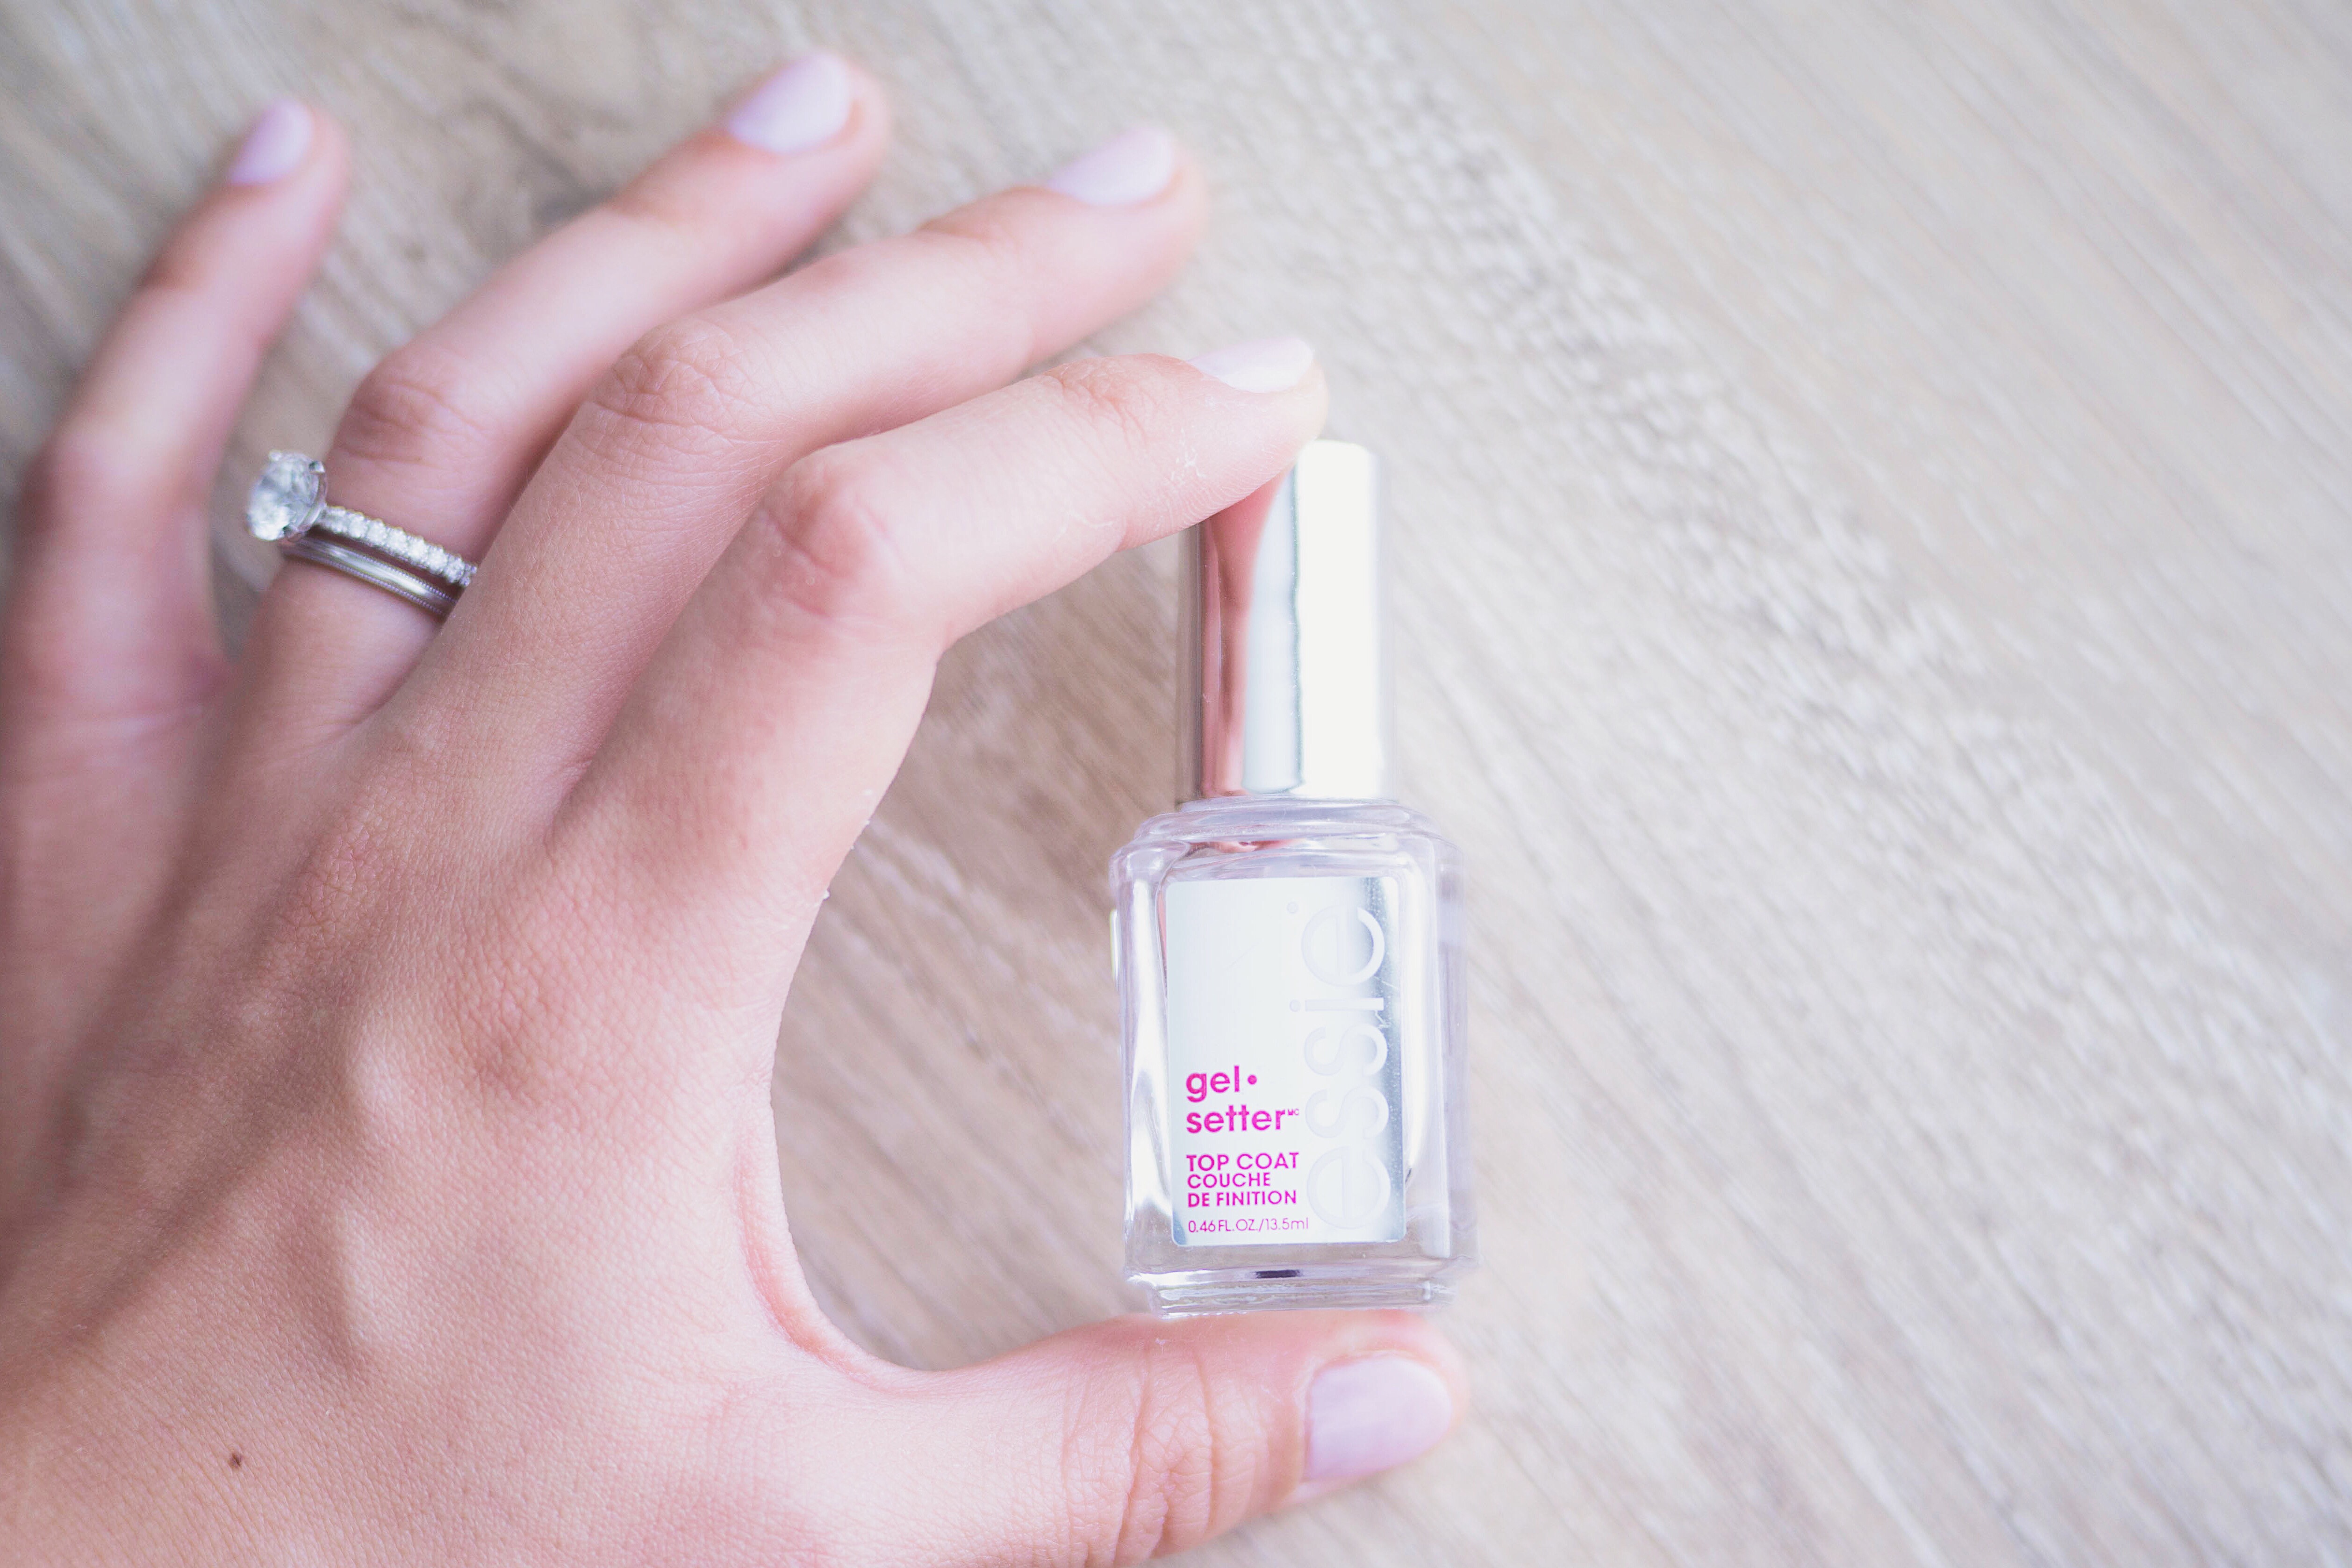
We’re almost done!! The last step is a quick top coat to really set the manicure. The next best thing to gel polish is this gel setter by Essie. I have repurchased is 4 times already!
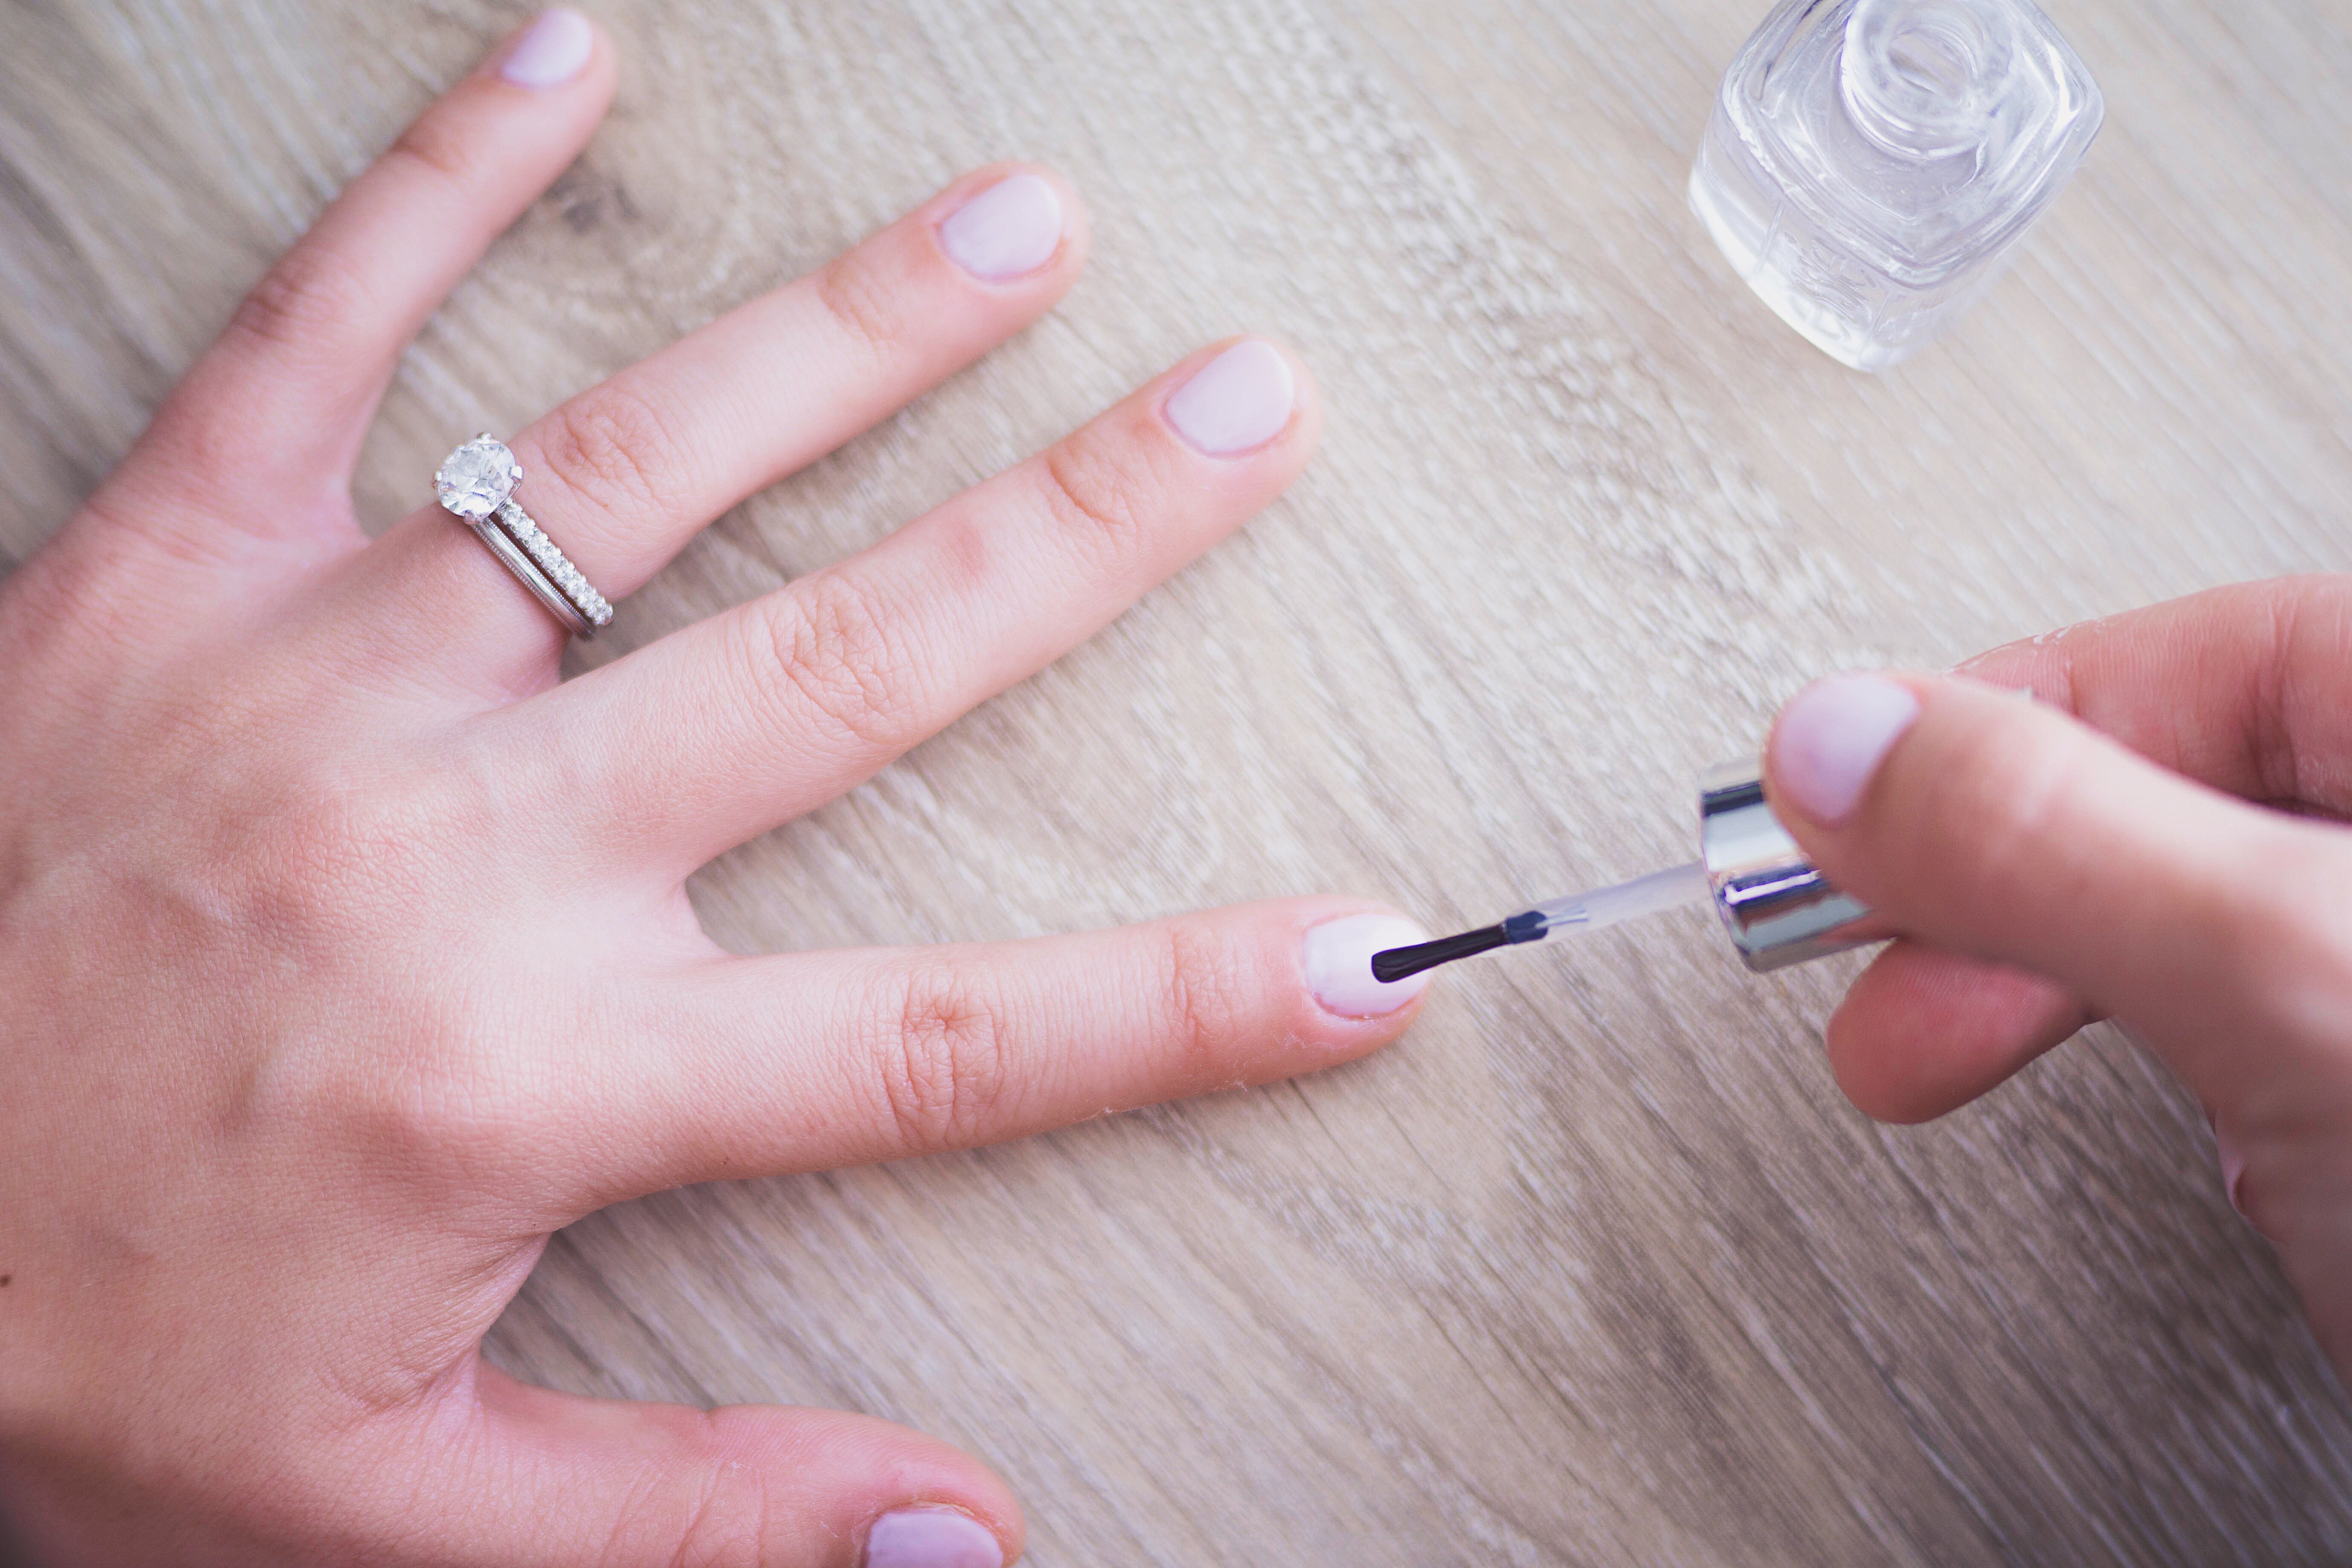
Put one quick coat making sure to cover the entire nail.
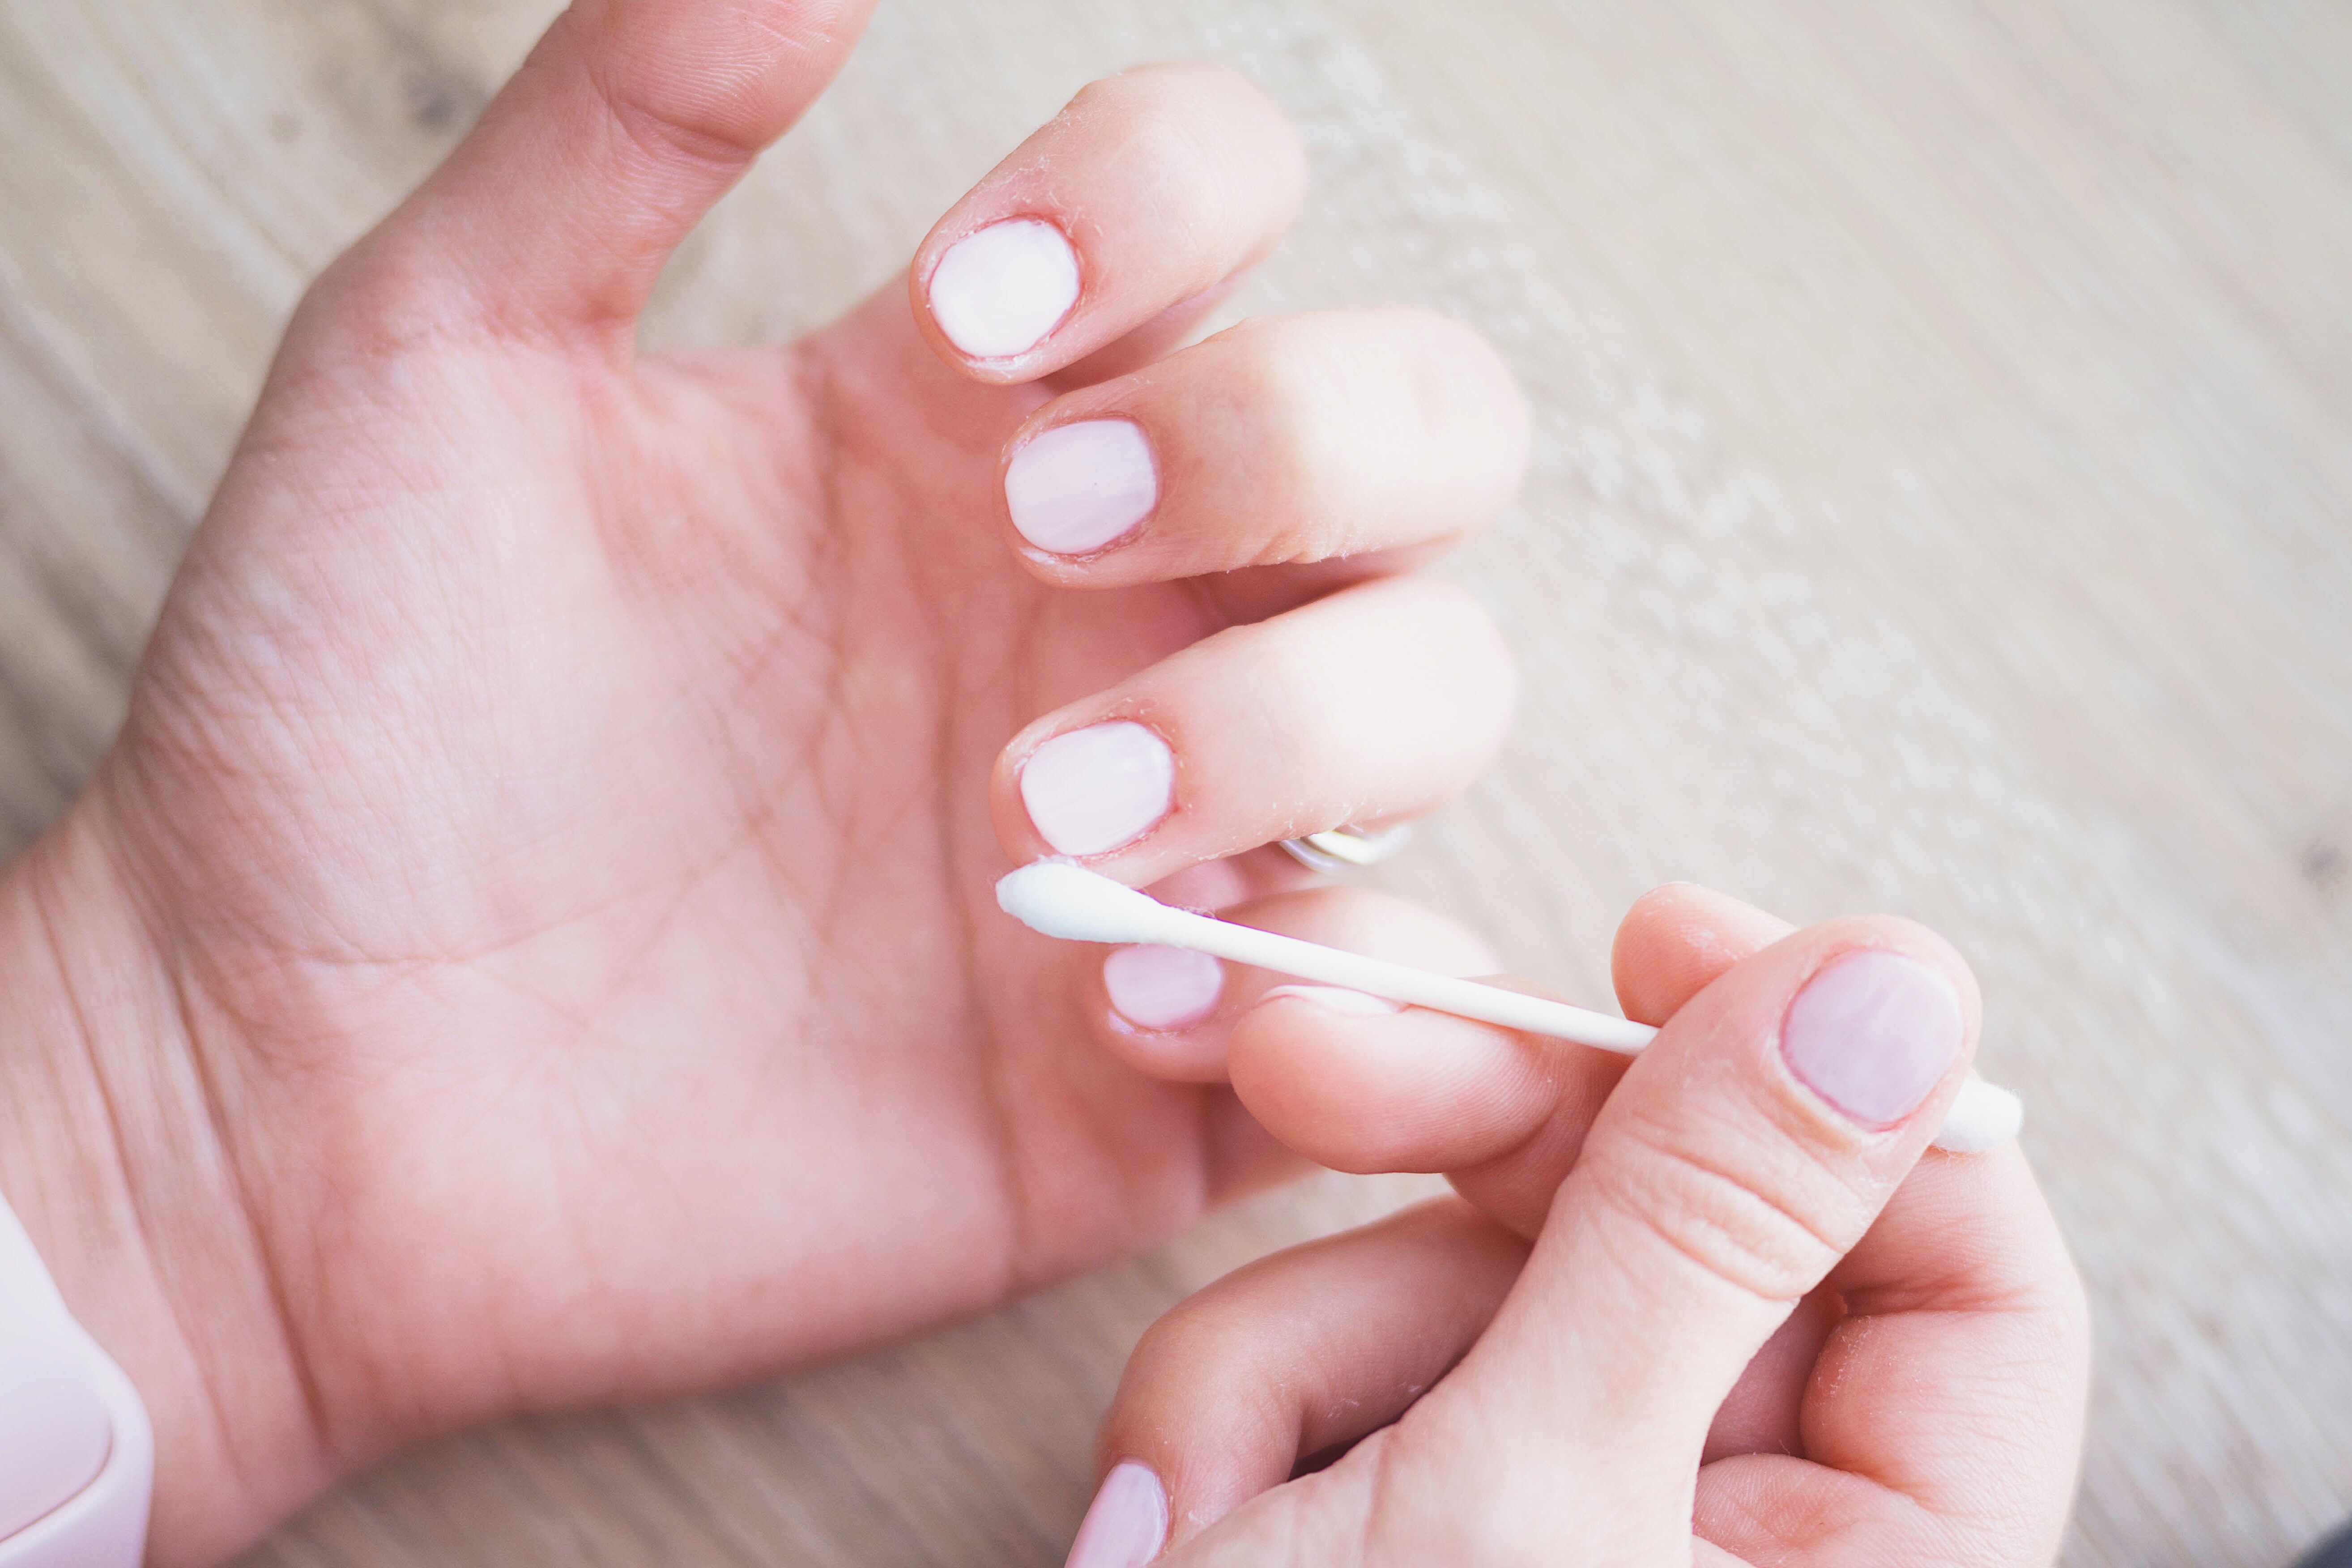
Once your nails are completely dry, use a q-tip dipped in nail polish remover to clean up any polish on your skin.
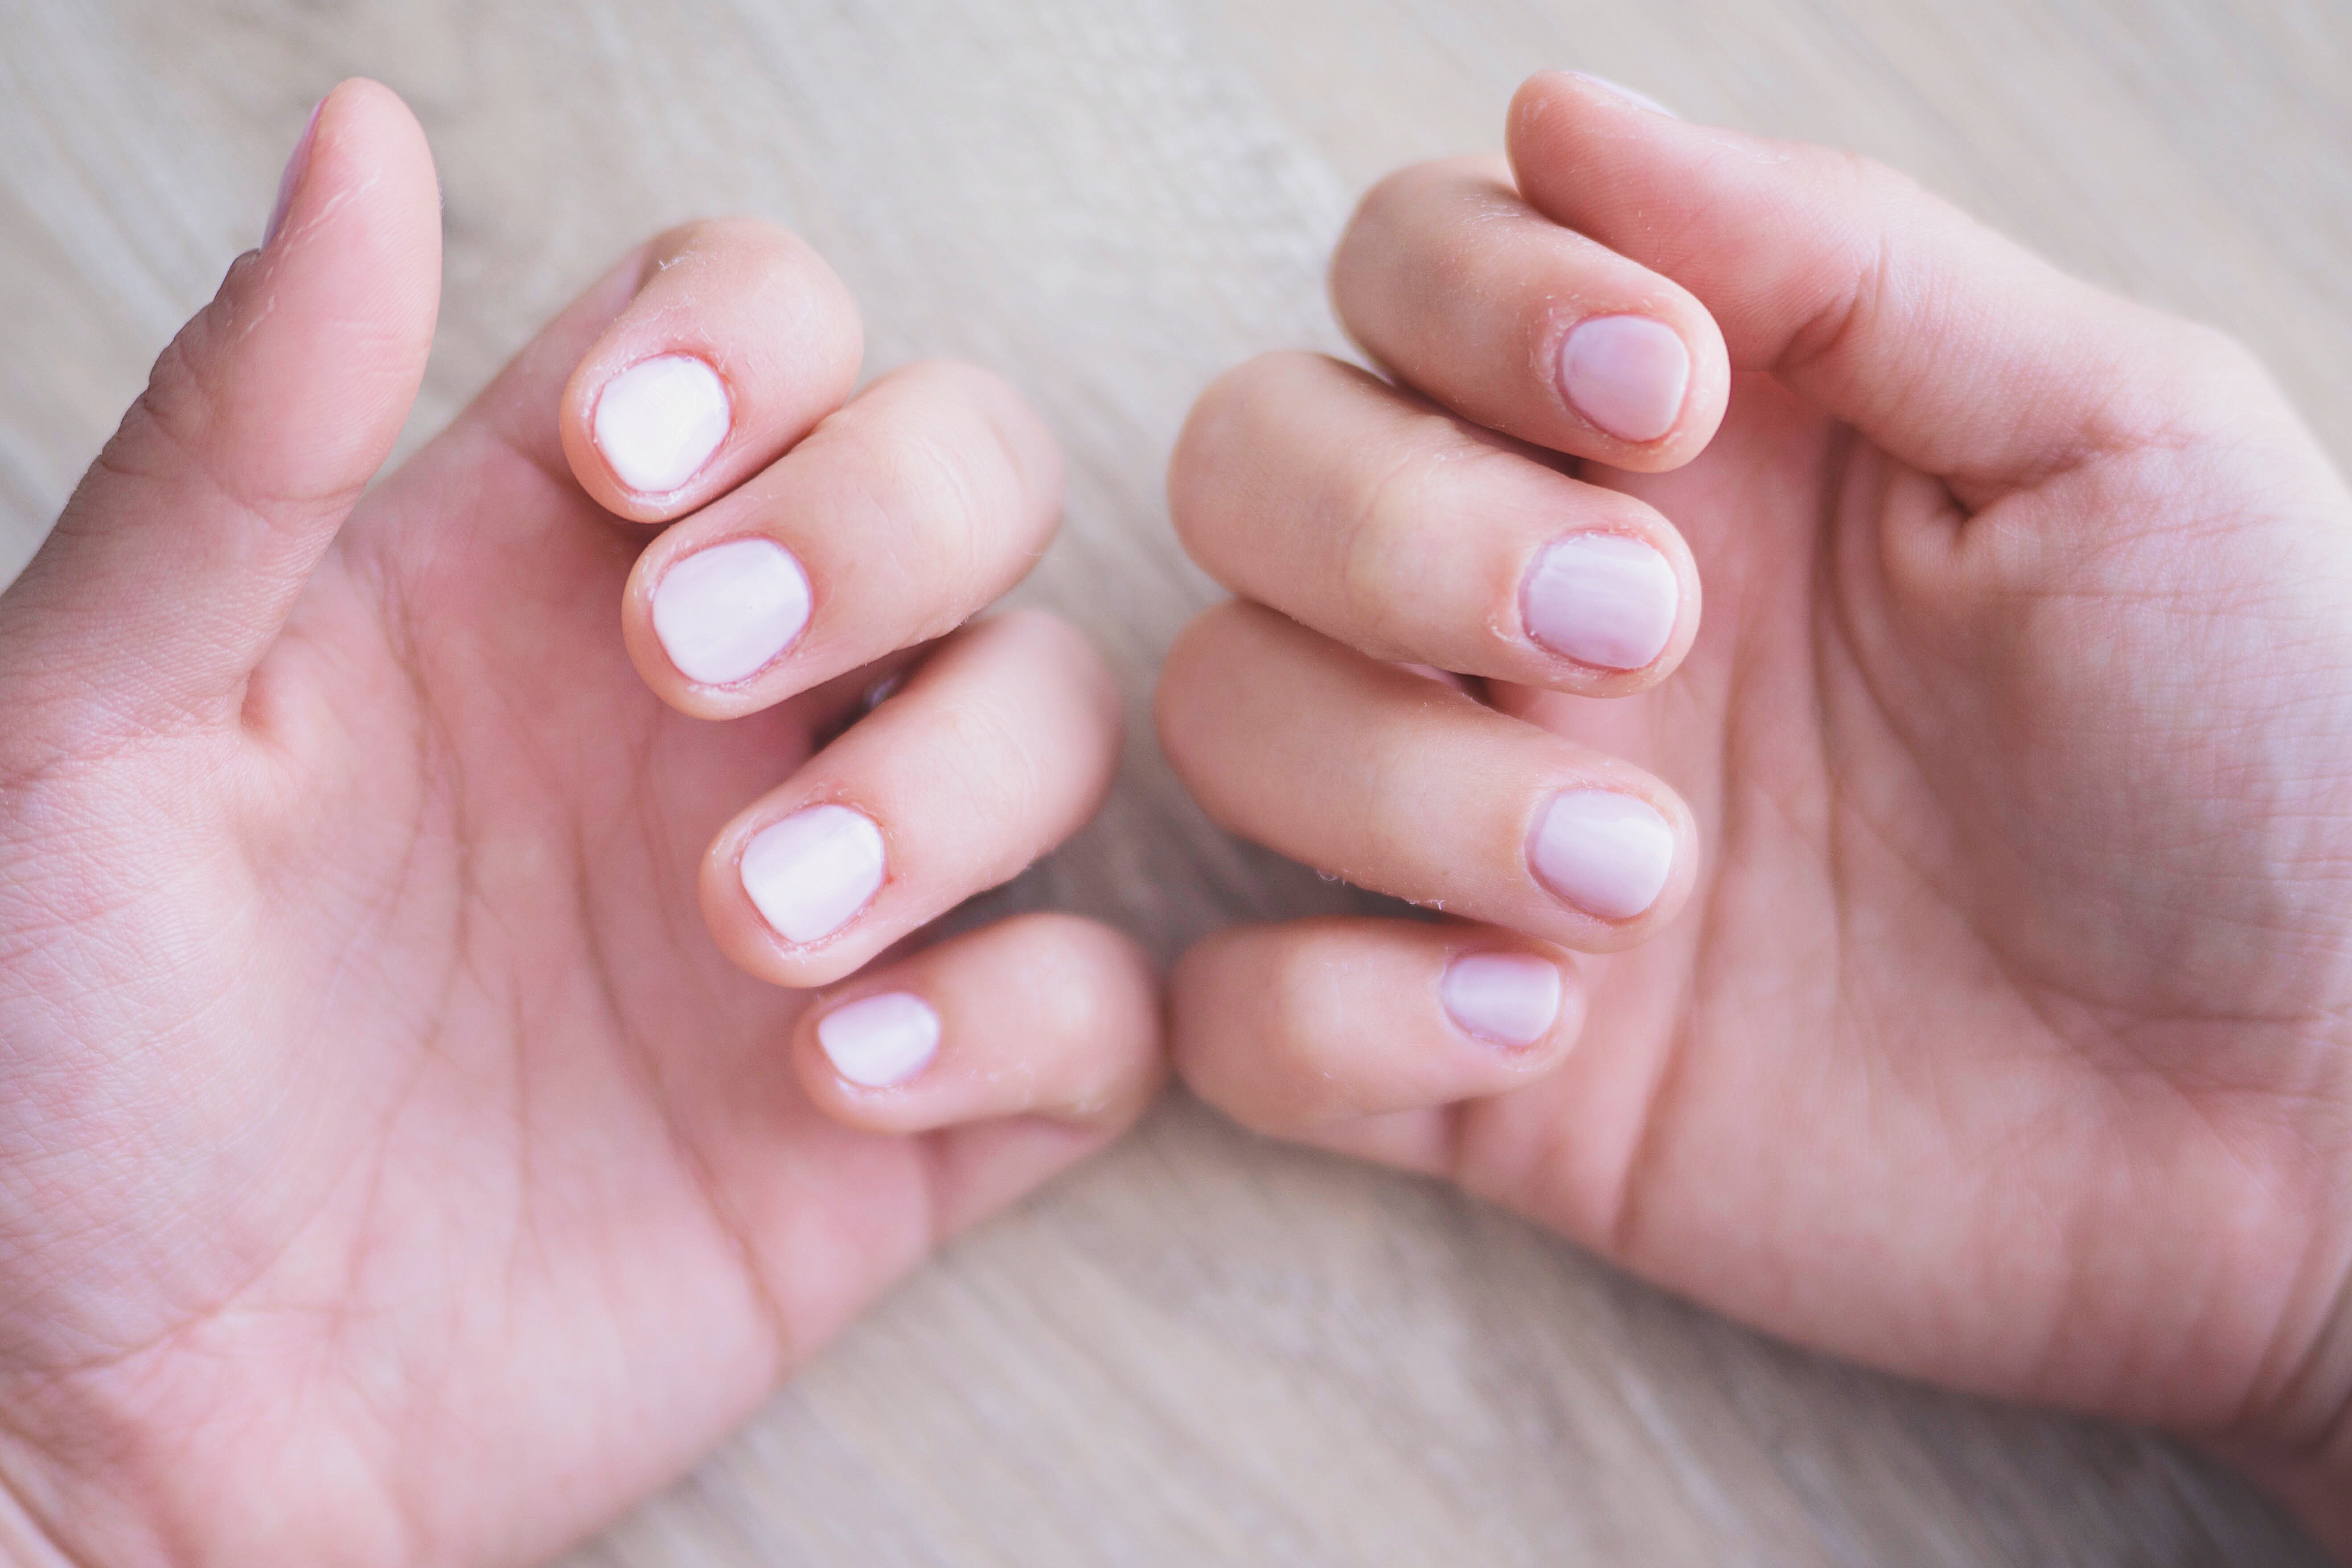
There you have it folks. A completed at home manicure. May your hands be Steady & your polish always be shaken before use! : )
SHOP THIS POST:
Leave a Reply